Quicksilver PSU Fan Replacement
Most PowerMac G4s are about 20 years old now, which means they all need some degree of work to run as well as they did when they were new. Fans are one of the most common replacements needed, and in most G4s, the fan in the power supply is the first to go. This post exists to serve as a basic guide for how to replace that fan. In the case of my Quicksilver, it is a standard 80mm x 80mm x 25mm PC fan. I used a part pulled from a few-years-old office PC. It's worth noting that the it only needs power and ground, PWM and sense lines on most modern fans are not connected at all. In my case, I cut them off.
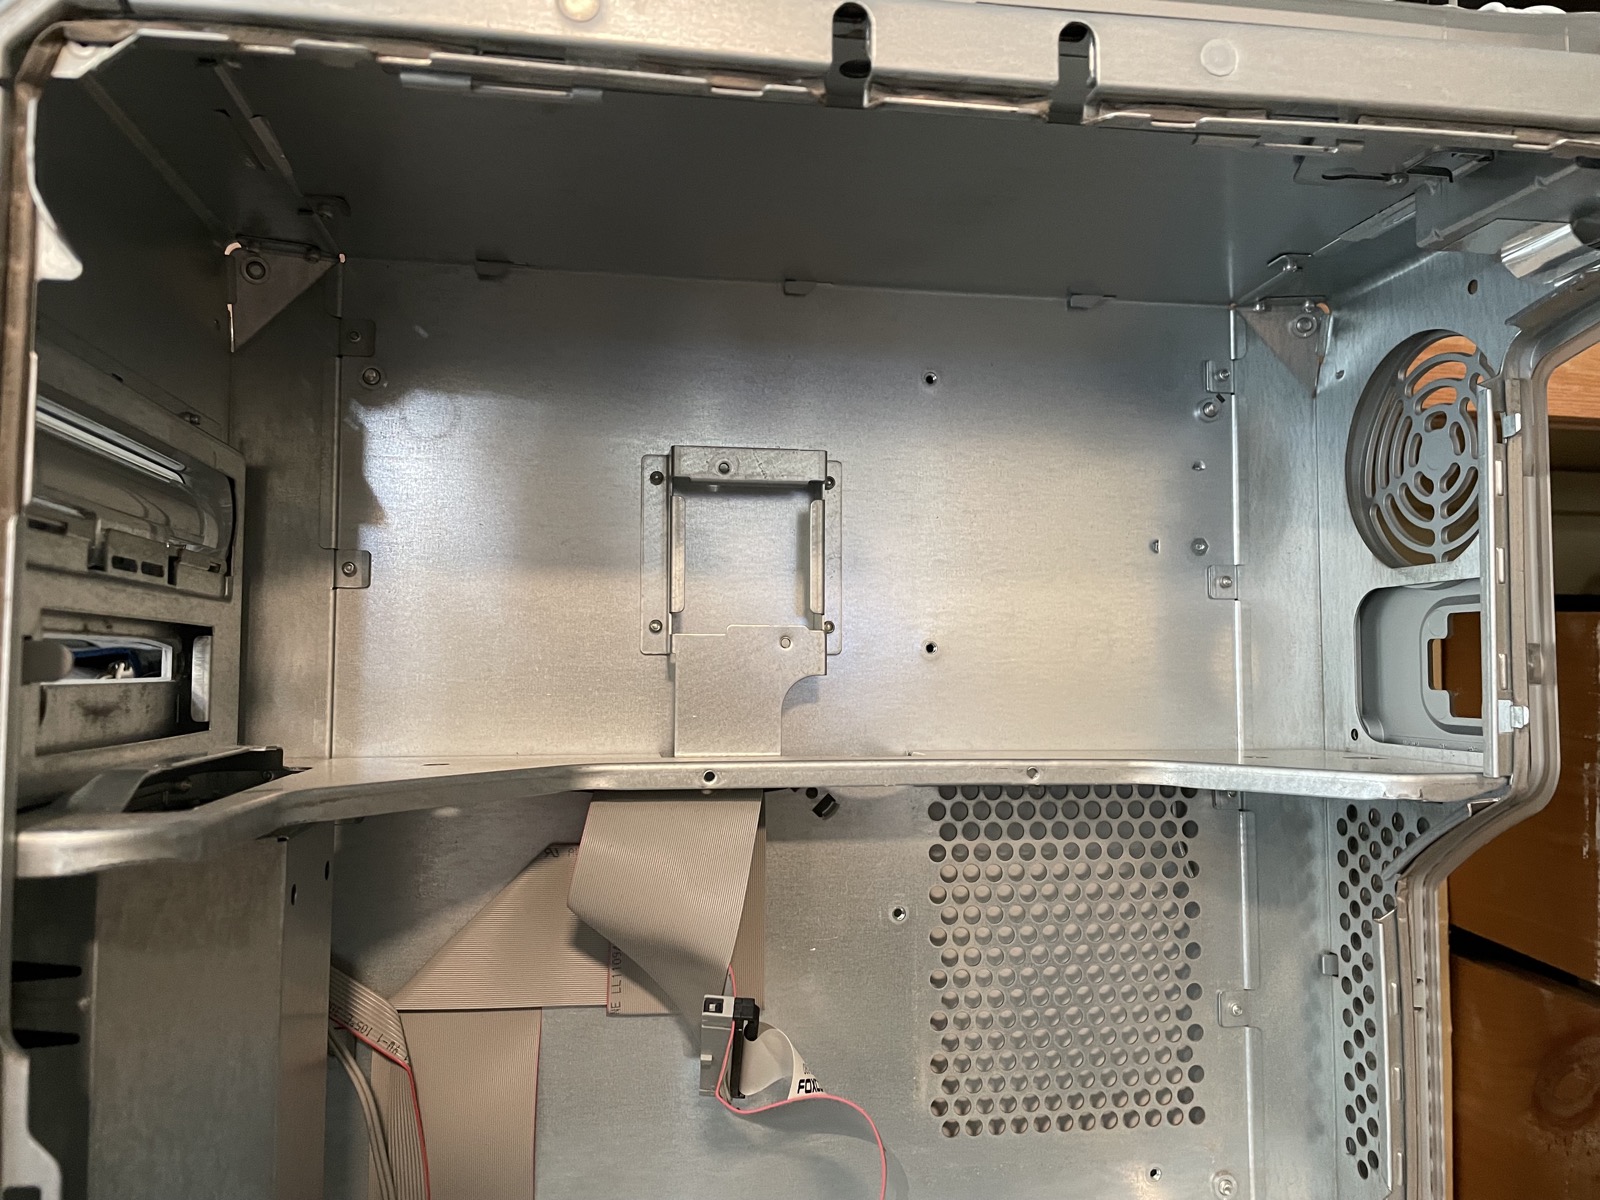
To start, power off the machine and open it. I removed the HDD carriers to give a bit more space.
Remove the optical drive carrier. There are four screws, two at the top, one underneath, and one on the front panel. These screws are the same. It will take some wiggling to get it to come out, and expect the power cables to be VERY stiff if they haven't been removed before.
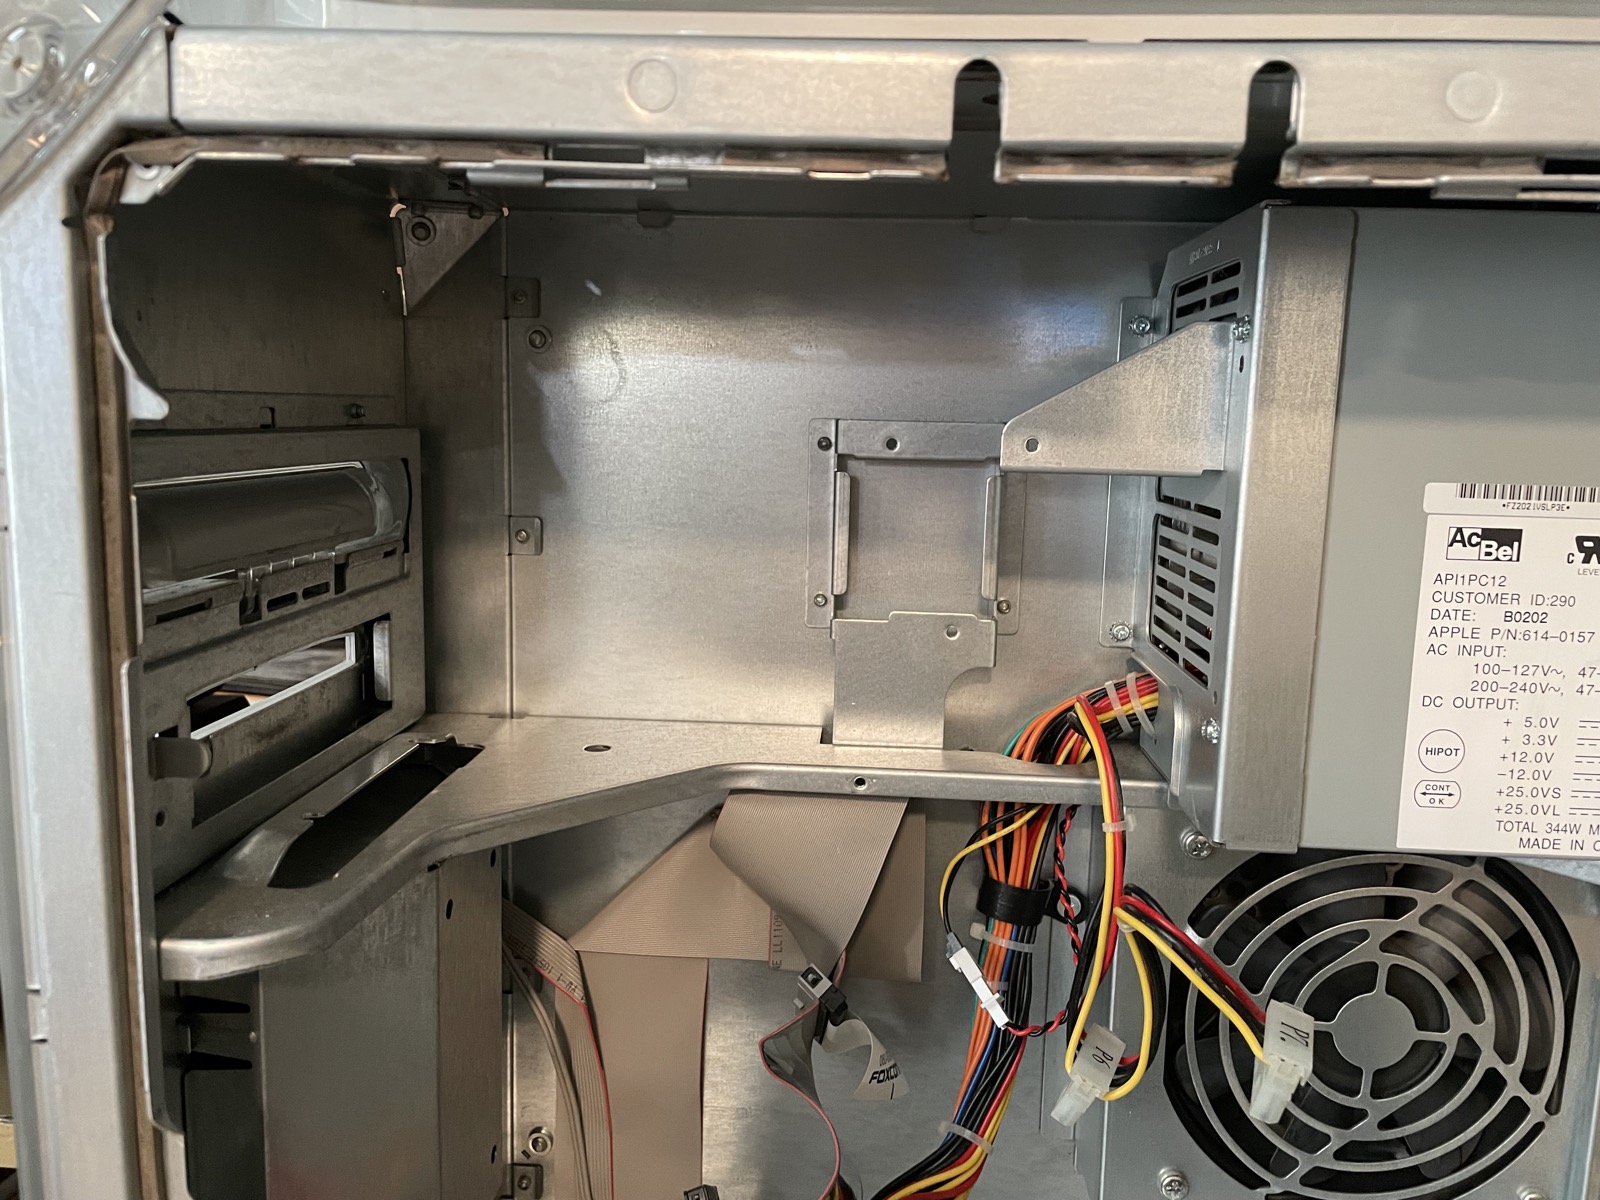
Now remove the bracket behind the PSU. Three screws, two behind the PSU and one under it. The bracket will pop straight out. After that, remove the big 120mm fan (don't forget to disconnect its power source!) There are two large screws with big flat heads holding it in, one is holding down a black plastic cable wrap, the other is under the fan. The fan will kind of drop out once this is done.
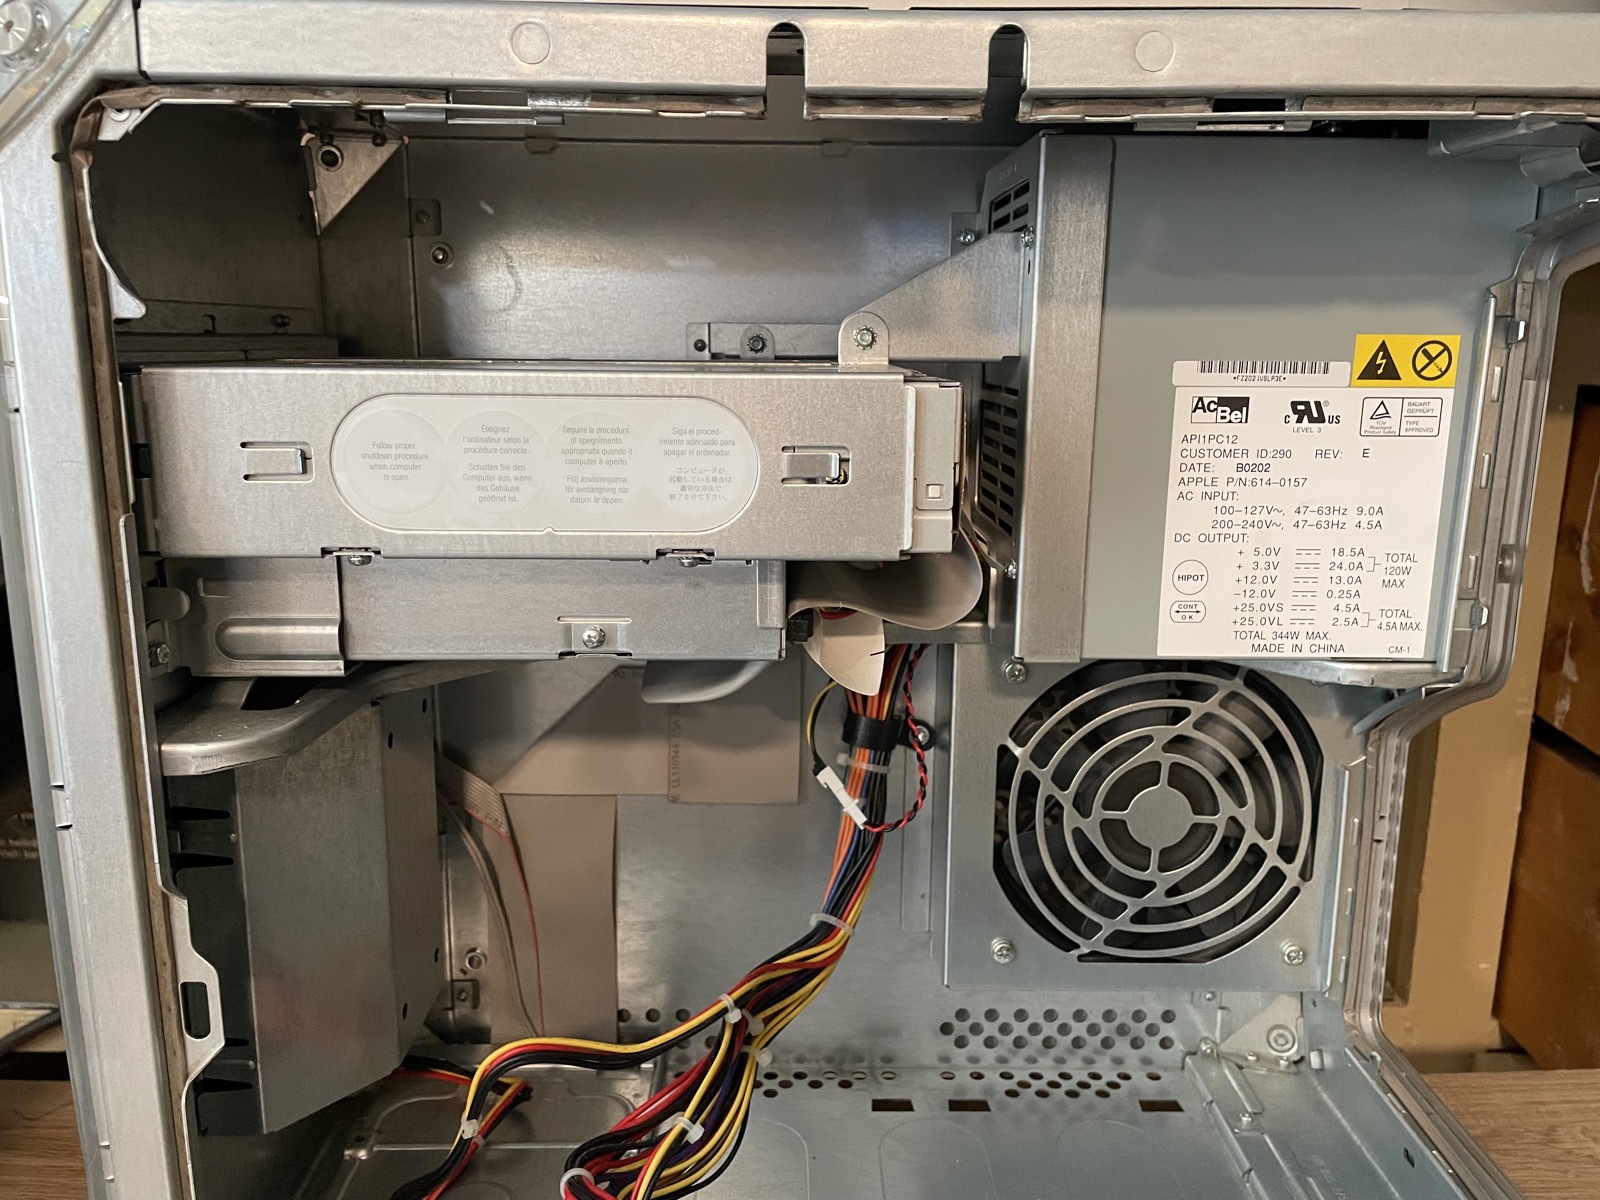
Next comes the rear PSU screws. These are three 2.5mm hex screws. Once removed, the PSU can be slid backwards and then tipped into the case. Once tipped into the case, feed the power cables up through the opening in the horizontal bracket.
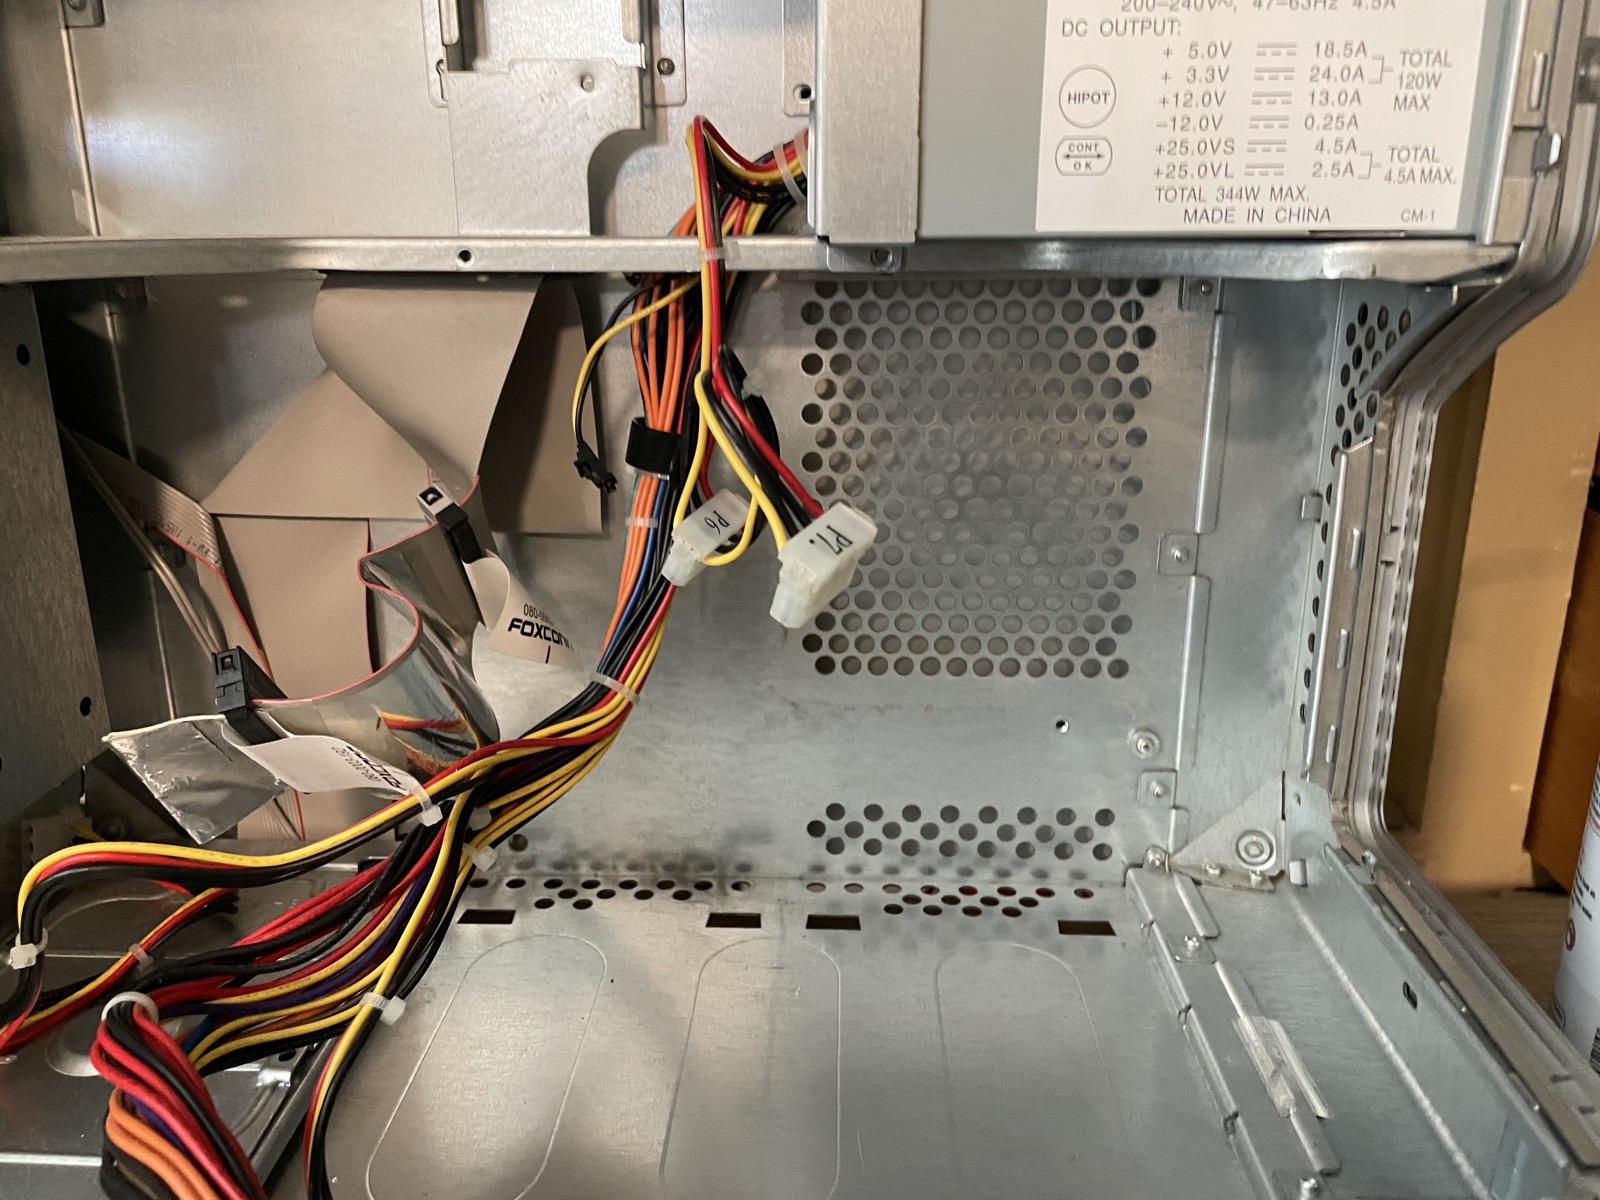
With the chassis being nice and empty, this is a good opportunity to clean out any dust that may have accumulated.
Now that the PSU is out, we can disassemble it and replace the fan. Taking it apart is very easy - four screws right on top, then the top metal case will lift straight off. All standard precautions regarding working in AC voltage equipment apply. If you want to be extra safe, wait a day with the PSU completely disconnected to allow the capacitors to discharge completely.

In this picture you can see that I've already pulled out the fan, and I've also cut out the metal grille at the back of the power supply - more on that in a moment. Removing the fan is trivial. Unscrew the two screws at the rear holding it in, move the blue and brown AC cables routed above it (you may need to snip a cable tie and pop the ferrite bead off of the fan), disconnect the fan's power connector, then push the rear of the metal PSU casing outwards in order to slide the old fan up and out. This is also a good opportunity to clean up the dust that has accumulated within the PSU.
If your new fan has a similar type of connector, swapping the old one should be easy. Use a small pin or screwdriver to push down the locking tabs on the metal bit on the back, and slide out the wire with the metal springy bit. Do this to remove the connector from the old fan and swap it onto the new fan and you should be all set. Otherwise, I'm going to leave the process of connecting the new fan up to the reader.

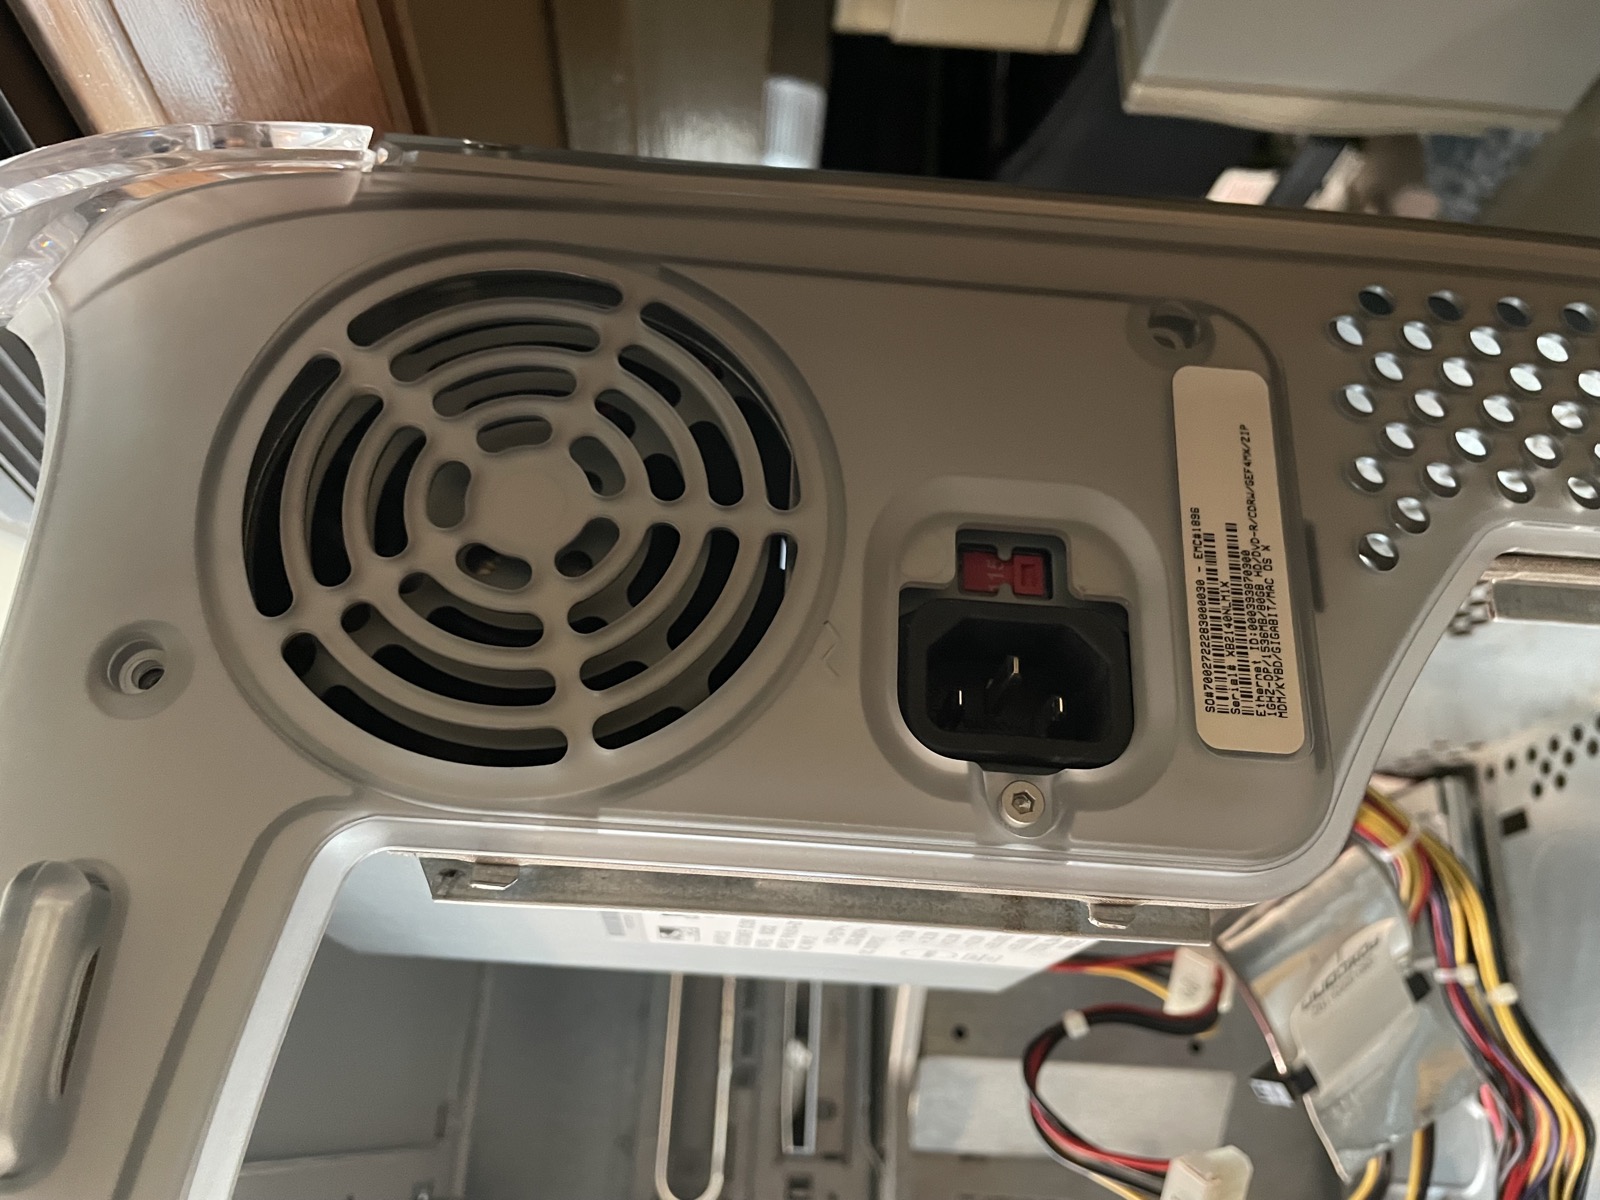
Looking at the rear of the PSU, with the metal grille snipped out. Why? Well, most computers expose this grille to the world, whereas in the G4 it is hidden behind yet another plastic grille. This double-grille creates additional noise, and it's a lot cleaner looking to remove the grille from the power supply than it is to remove from the rear plastic of the machine. If you're not sure about this, don't do it! Test the machine with a new PSU first, and if it's not noisy - leave it alone. If it seems a bit too noisy, remove it.
At this point, you're finished. Put the PSU back together and re-assemble the machine.