Building an End Fed Half Wave Transformer
The end fed half wave is a type of antenna system intended for use on the amateur radio HF bands, typically 80 meters through 10 meters. Its design is simple - a wire, a transformer, and a feed line. There are a number of different types of end fed wire antennas and they can be deployed in many different configurations. The end fed half wave antenna has a radiator that is approximately one half wavelength of the lowest frequency it is intended to be used on - give or take a bit for adjustment within the bands. In addition to a wire that is half wavelength, this antenna also has a transformer that brings the high impedance of a wire in free space down to the 50Ω that our radios crave. EFHWs are often referred to as "no-tune" antennas, because they tend to have an SWR that is usable without tuning across the primary band and its harmonics. The transformers that do this matching are often called "baluns" - but I'm not sure if that's correct. A balun is traditionally used to match a balanced line to an unbalanced line, and I don't know if the radiating wire of an end fed antenna is considered an unbalanced line.
There are already many guides and videos detailing how to make a transformer for an end fed half wave antenna, they aren't hard to find. I have thought about writing my own for a while, but I wanted wait until I had a build that I was very satisfied with before I put anything out there. Over the past two years I have built and extensively used a number of EFHW antennas, and I have been very pleased with their performance. Like many other topics in amateur radio, their mere existence is upsetting for some folks; but when you consider their performance, low cost, and very flexible deployment options you may understand why they are so popular. My first EFHW was a transformer and wire purchased from ebay - I purchased one because I thought building one might be too much trouble, I was very wrong about this! Furthermore, for what it's worth, there are many details of this build that are unique to me, either due to the parts I had on hand or because I just wanted to do something that way. This is a very flexible project - build yours how you want.
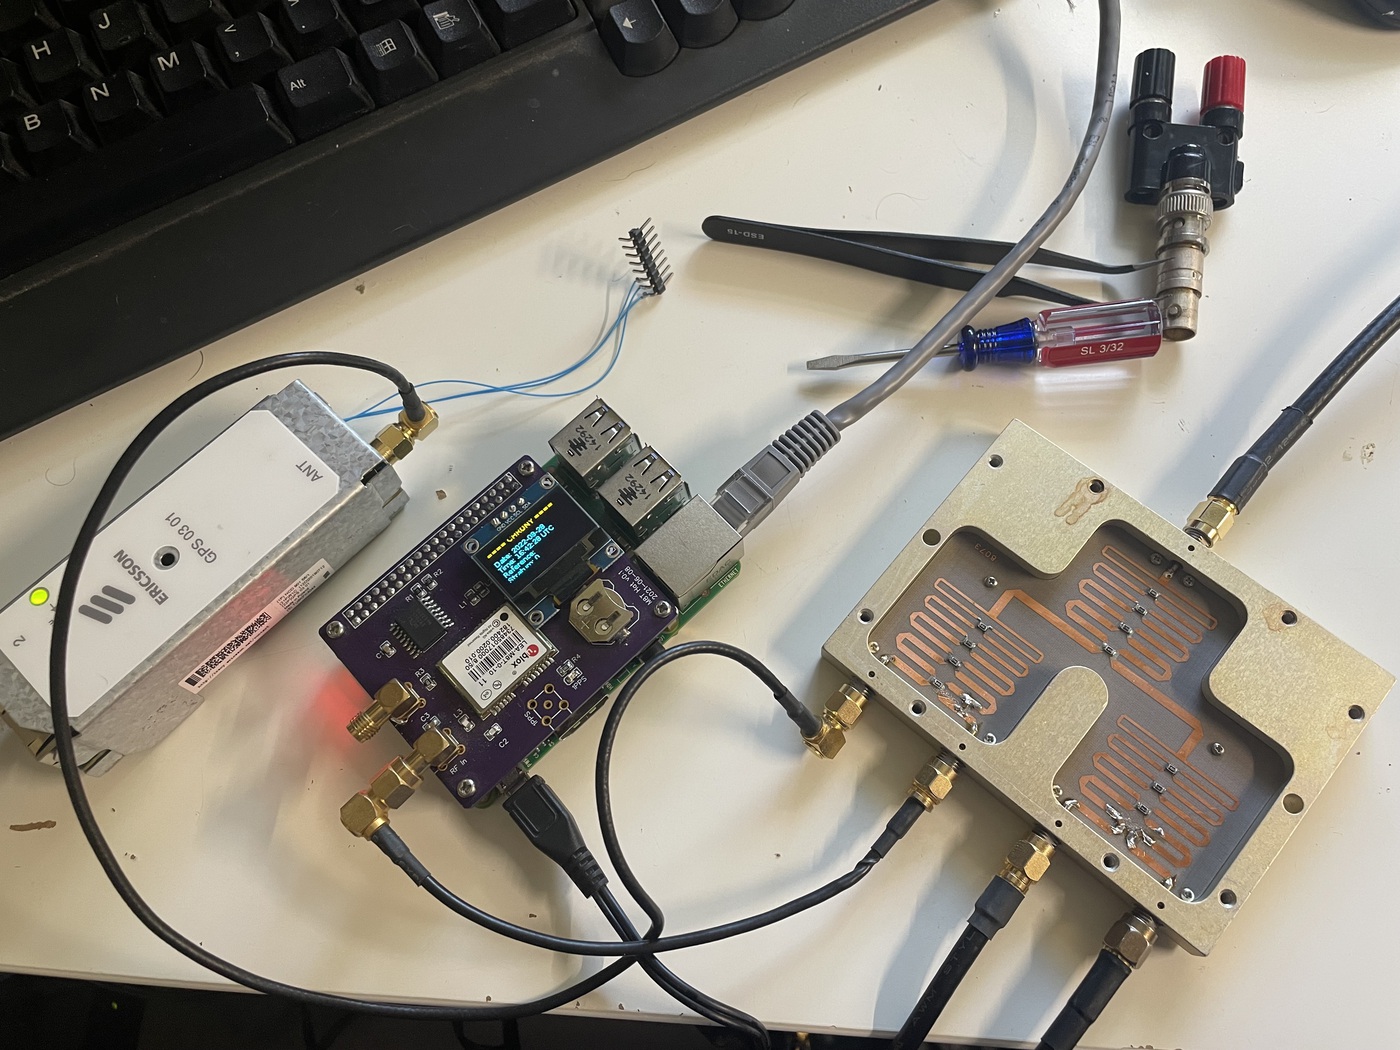
In my initial designs I used a 4" x 4" x 2" marine grade utility box an a large FT240-43 toroid. This is a big and somewhat clunky solution, and while it worked for me at the time, it has since been found that there are other toroids that are both smaller and more efficient at performing the same task. I credit Colin, MM0OPX, and his video "Best Ferrite Core For a 100w End Fed Half Wave Antenna" for my own discovery of this "new" toroid - though others have certainly been using this toroid for EFHWs before him, and he credits them in his materials. This "new" toroid is the Fair-Rite 2643251002, and it has been found to be more efficient than the FT240-43 across the entire HF band, while also being able to handle 100w of high duty cycle modes (such as FT8 or PSK31) for extended periods of time before saturating. I have replicated the results Colin discusses in his video by building two identical transformers, connecting them back to back, and calculating the dB loss through them both with a VNA.
Something I do want to mention briefly is that in addition to different toroid geometries, there are differences in their compositions as well, often referred to as their "mix". Both of these cores are mix 43. There are a number of different mixes that folks have found to be suitable for EFHW transformers, and 43 is one of them. I am not claiming that it is the best, only that it has worked well for me. If I had a much greater budget for this sort of testing I would like to get a few of each and really thoroughly compare them myself.
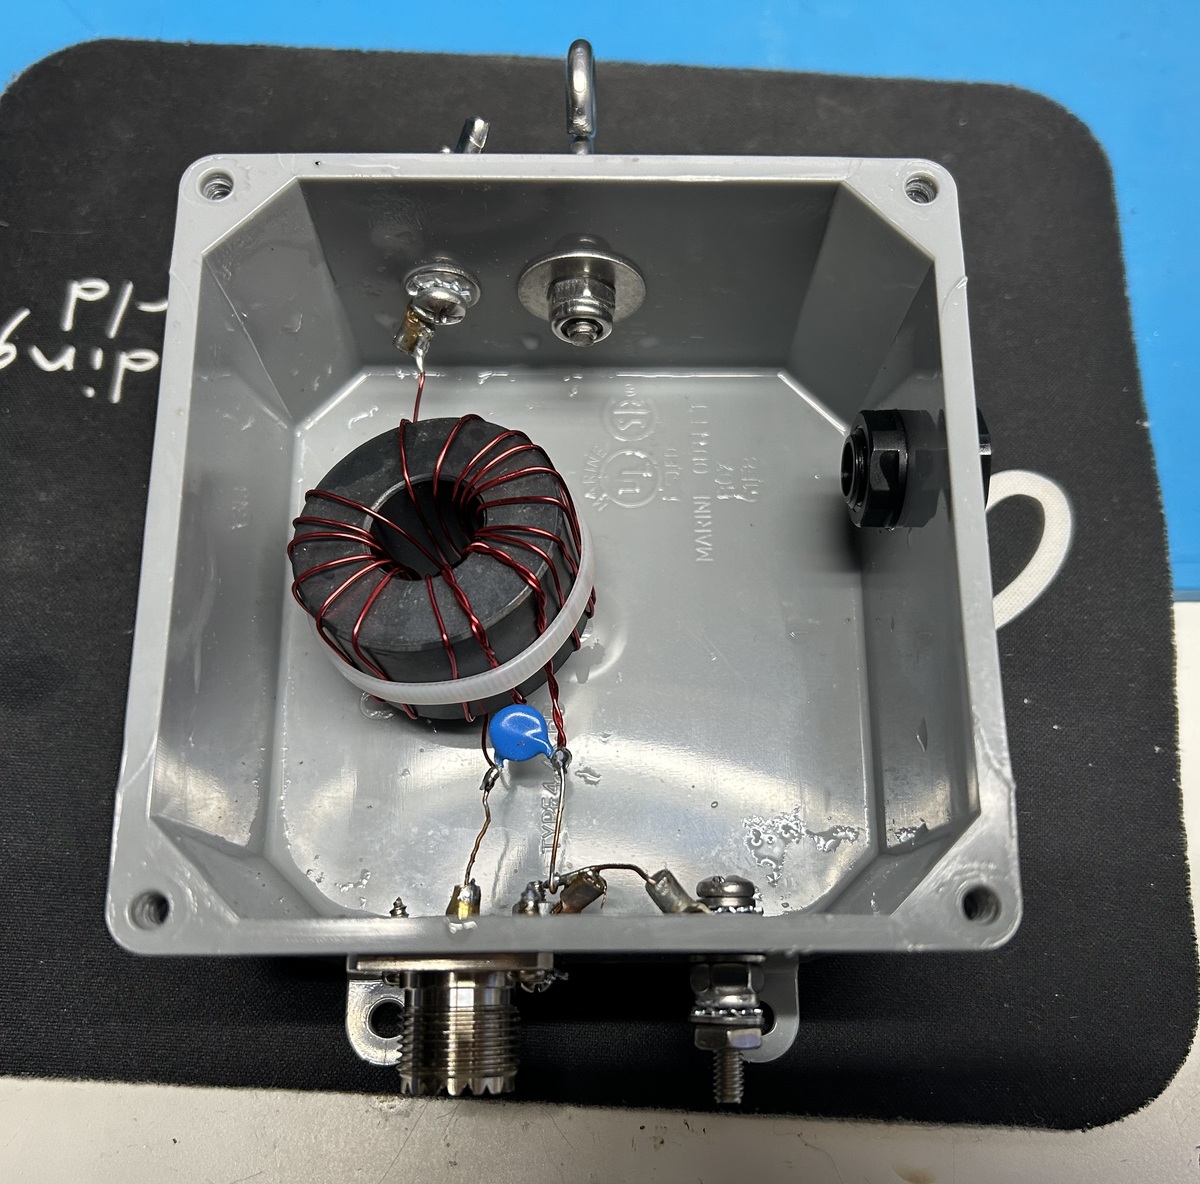
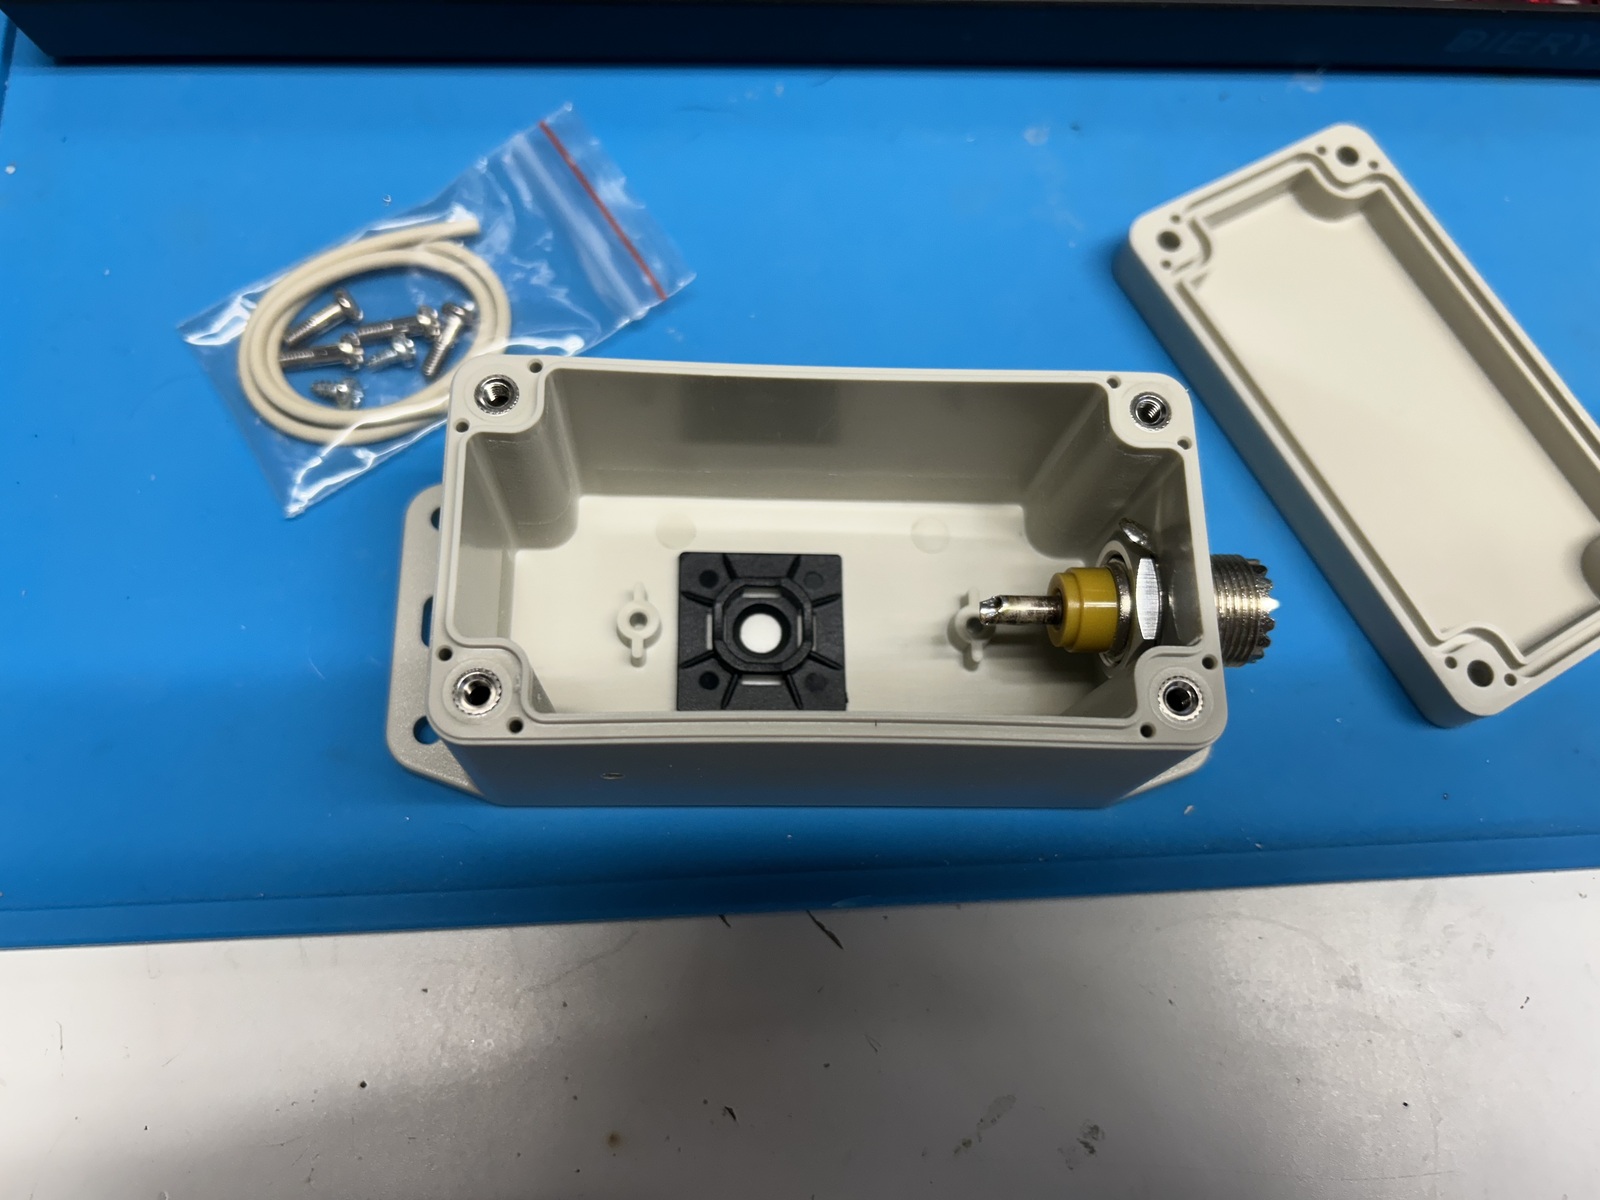
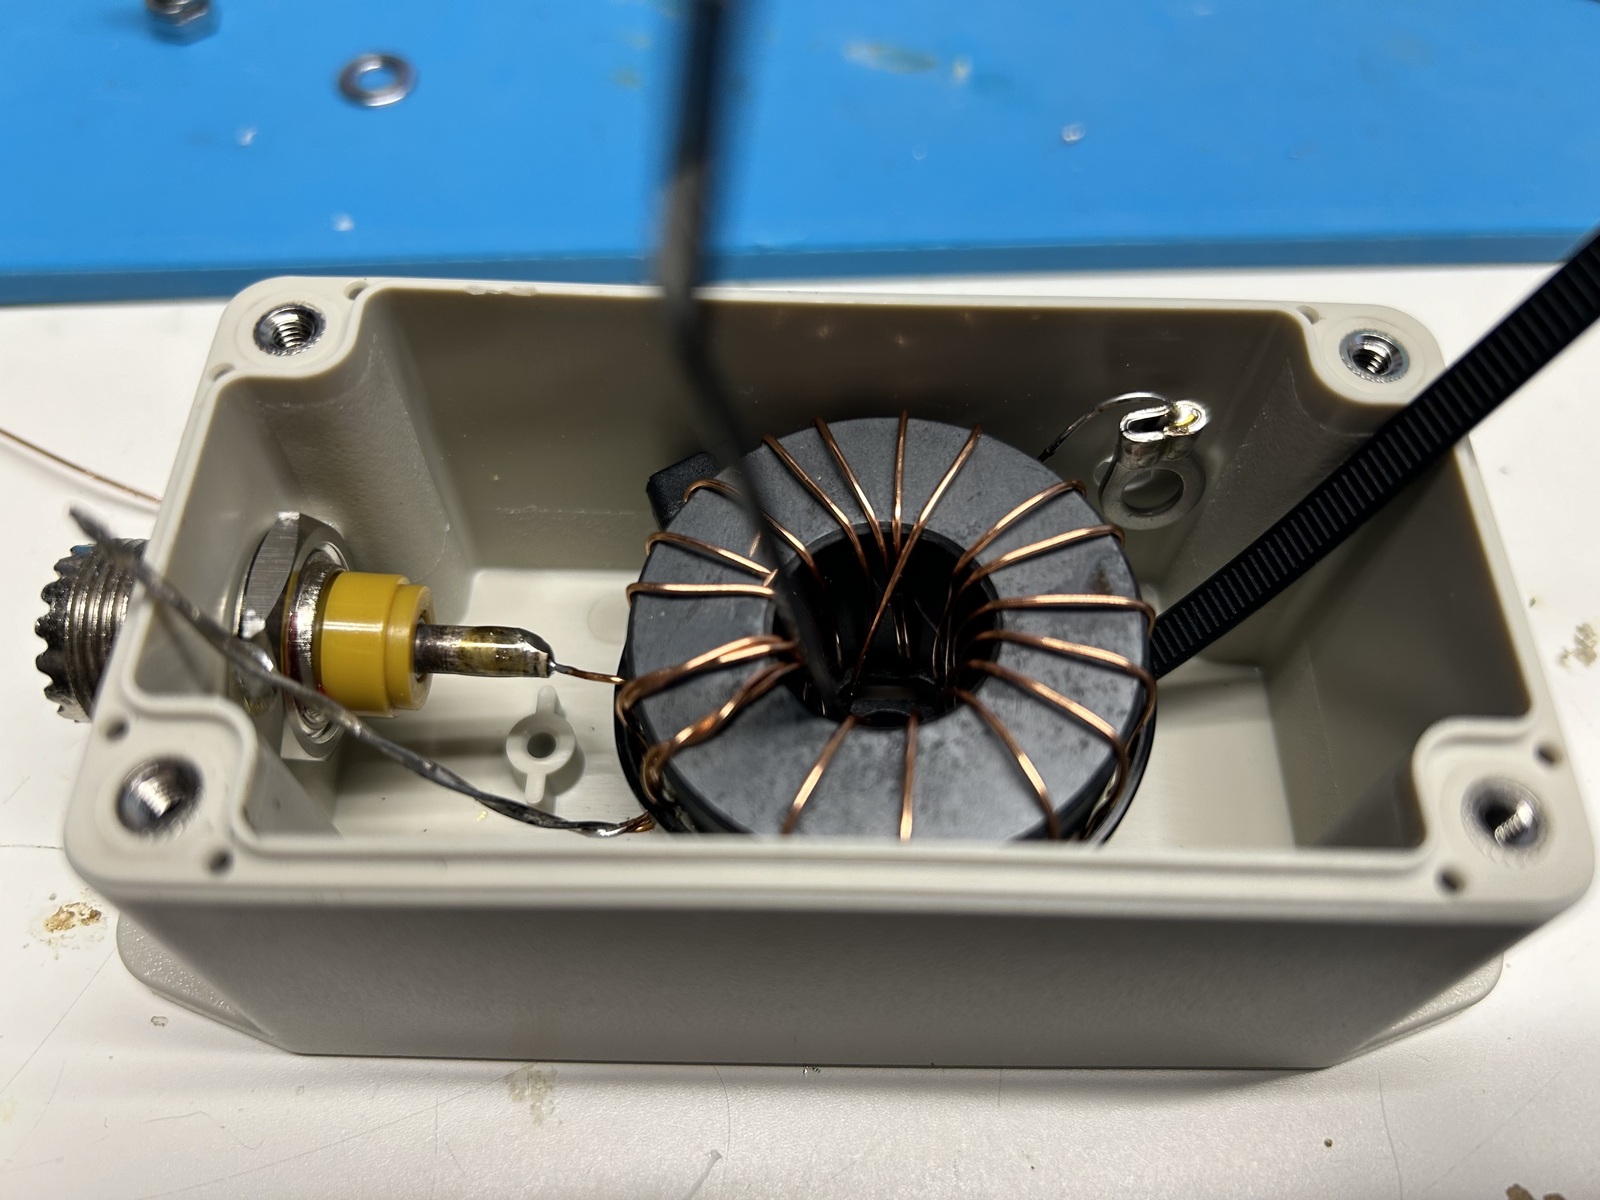
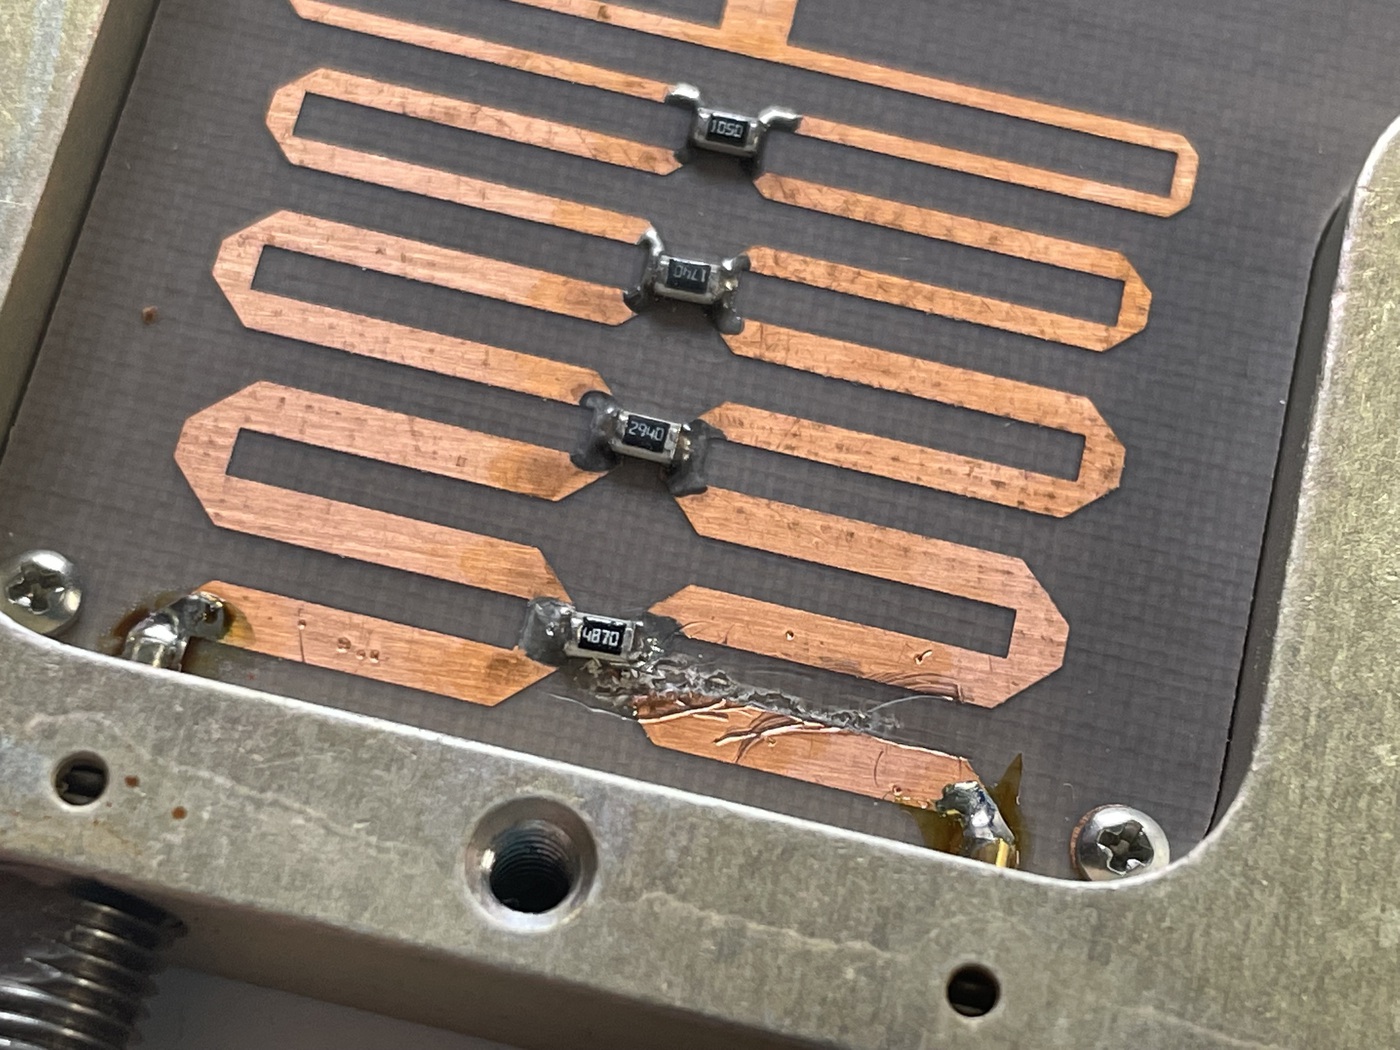
Since the 2643251002 is a good bit smaller than the FT240-43, 1.5" vs 2.4" across, it can be contained in smaller enclosures. The 2643251002 is a good bit thicker, at 0.9" compared to the FT240-43's 0.5", but I have yet to see an enclosure for the FT240-43 take advantage of this difference. The reduced size of the new toroid opened up a new window of opportunities for enclosures as you can see by this example of a 2643251002 in one of those 4x4x2 boxes - there is a lot of room in here.
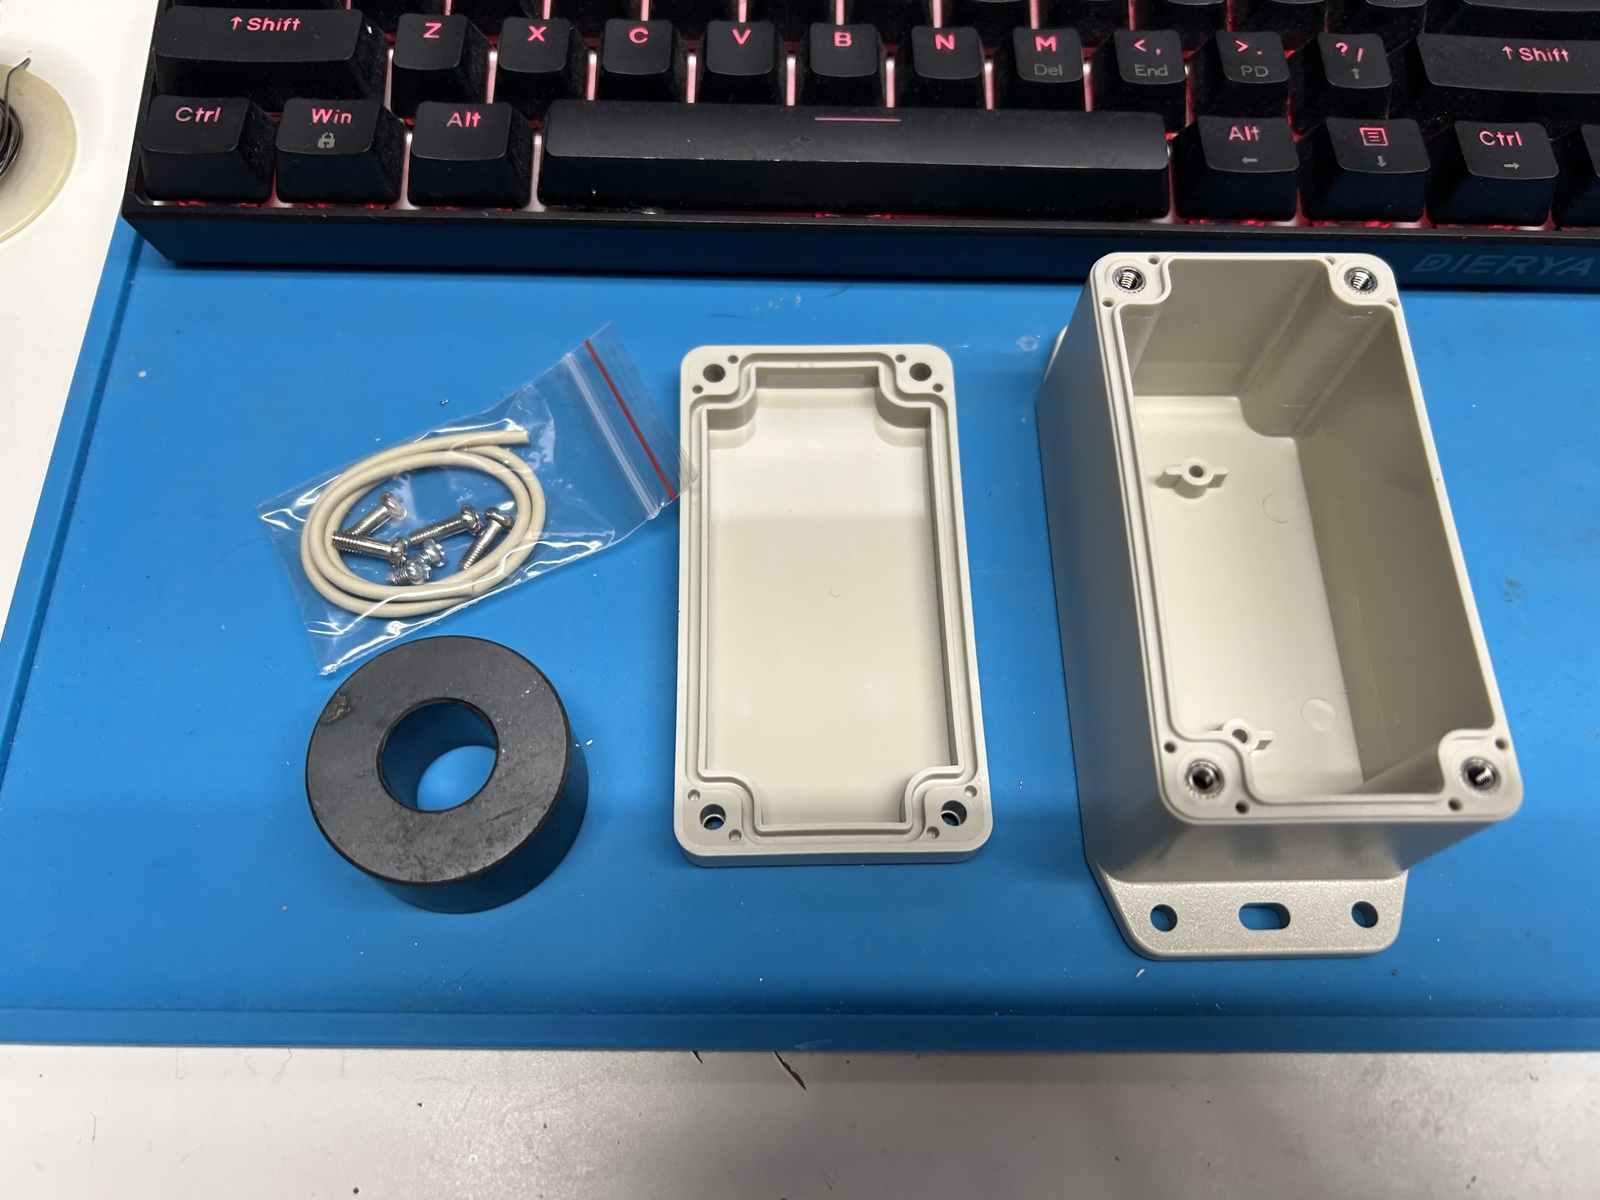
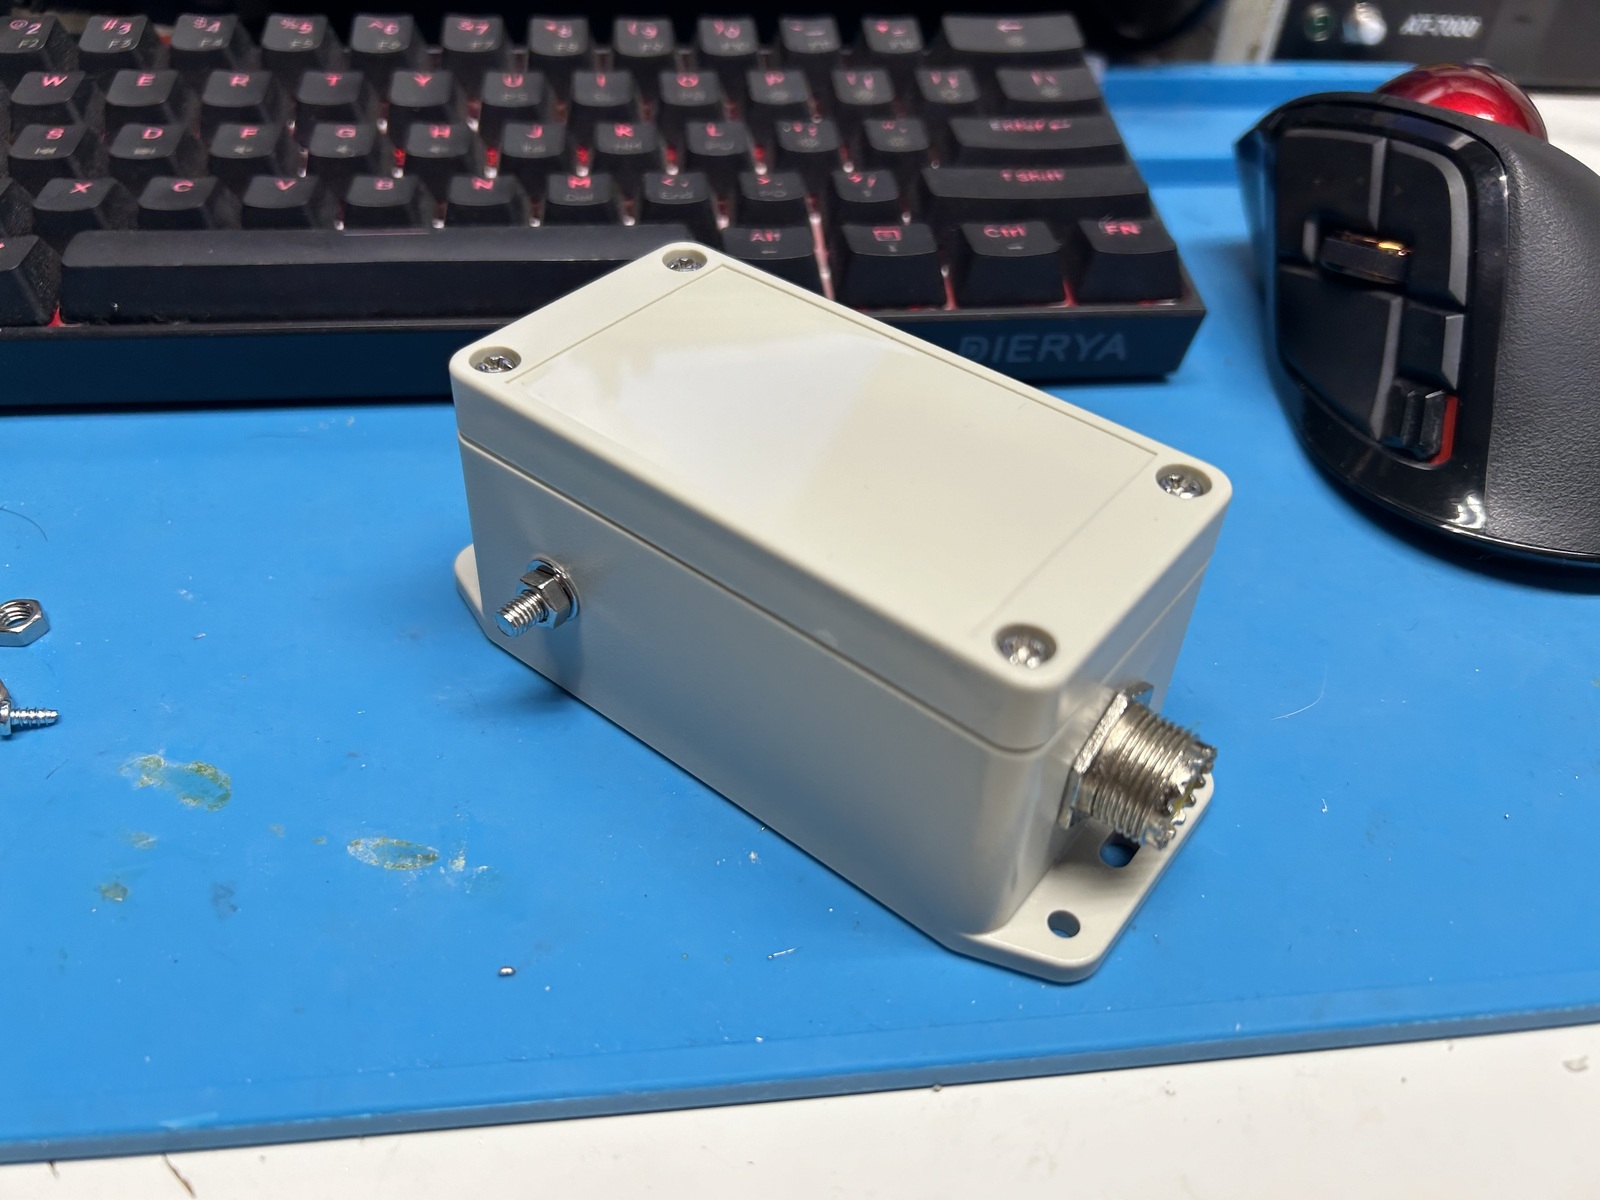
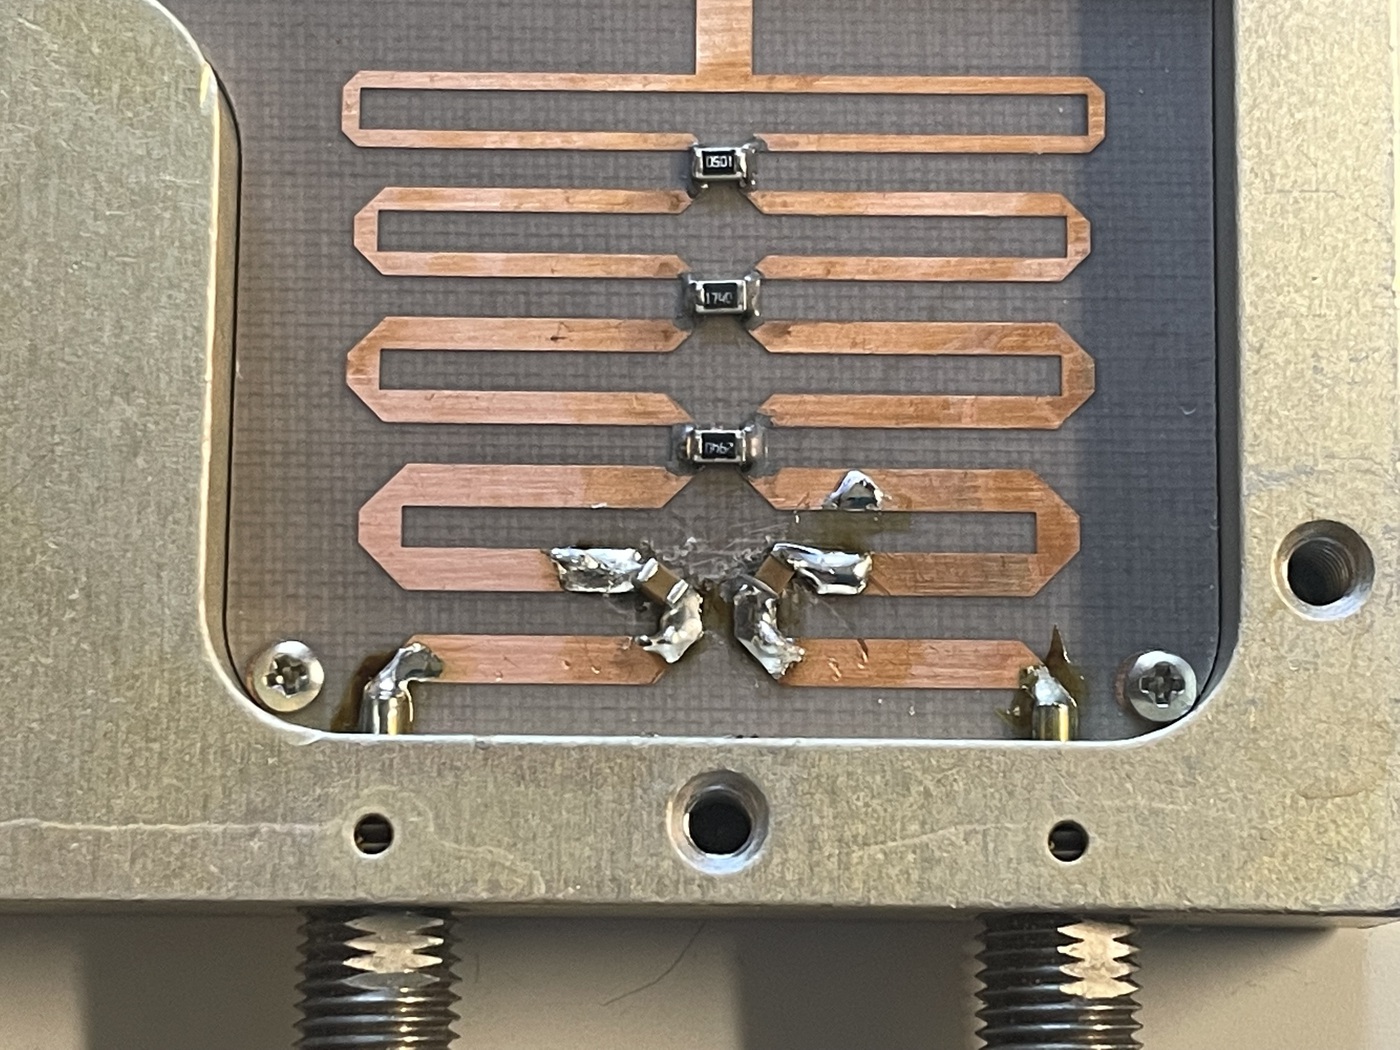
For what it's worth, there's not really anything wrong with this arrangement, but it can be neater. The enclosure I ordered for this variant is the Hammond RP1045BF, which is available at DigiKey for $10.80 vs $11.91 for the previous box I got from Home Depot. As you can see, it matches the 2643251002 very nicely.
Assembly of these transformers is a mostly mechanical affair. After confirming that the toroid would indeed fit, I began laying out the enclosure. This particular model has tabs at the bottom and top molded into it that can be used to anchor the box to something else. In my case I chose to use them to suspend the box from the top holes via a hoist rope, as well as add a tension loop for the antenna wire itself - that will become clearer later on. Whatever enclosure you use, thinking about how it's going to be physically oriented is important, and you are going to want to make good decisions before you start drilling holes.
Since mine is going to be hung from the "top" tab, I decided to drill a hole for the coax connector in the bottom so that the feed line can drop straight down. In this case I had an SO-239 connector I had in my parts bin, but I plan to swap this for an N connector as that is what I prefer to use for outdoors permanent installations since N is inherently waterproof. SO-239 is fine if you take the right measures to protect it, and BNC is also a very popular choice, especially for portable use, since it's so easy to pop on and off. At this point I also installed a zip tie mounting point that I will use to anchor the transformer to. Some folks use glue or silicone, and I have done this in the past - but it can be messy or fail over time. Hammond also makes plates that can be screwed into the bottom of these boxes, but DigiKey doesn't stock them for whatever reason. I could make my own plate, or fab a PCB to be fitted there, as Colin did. I have had good luck with these zip tie plates in the past, and they can be removed easily if needed.
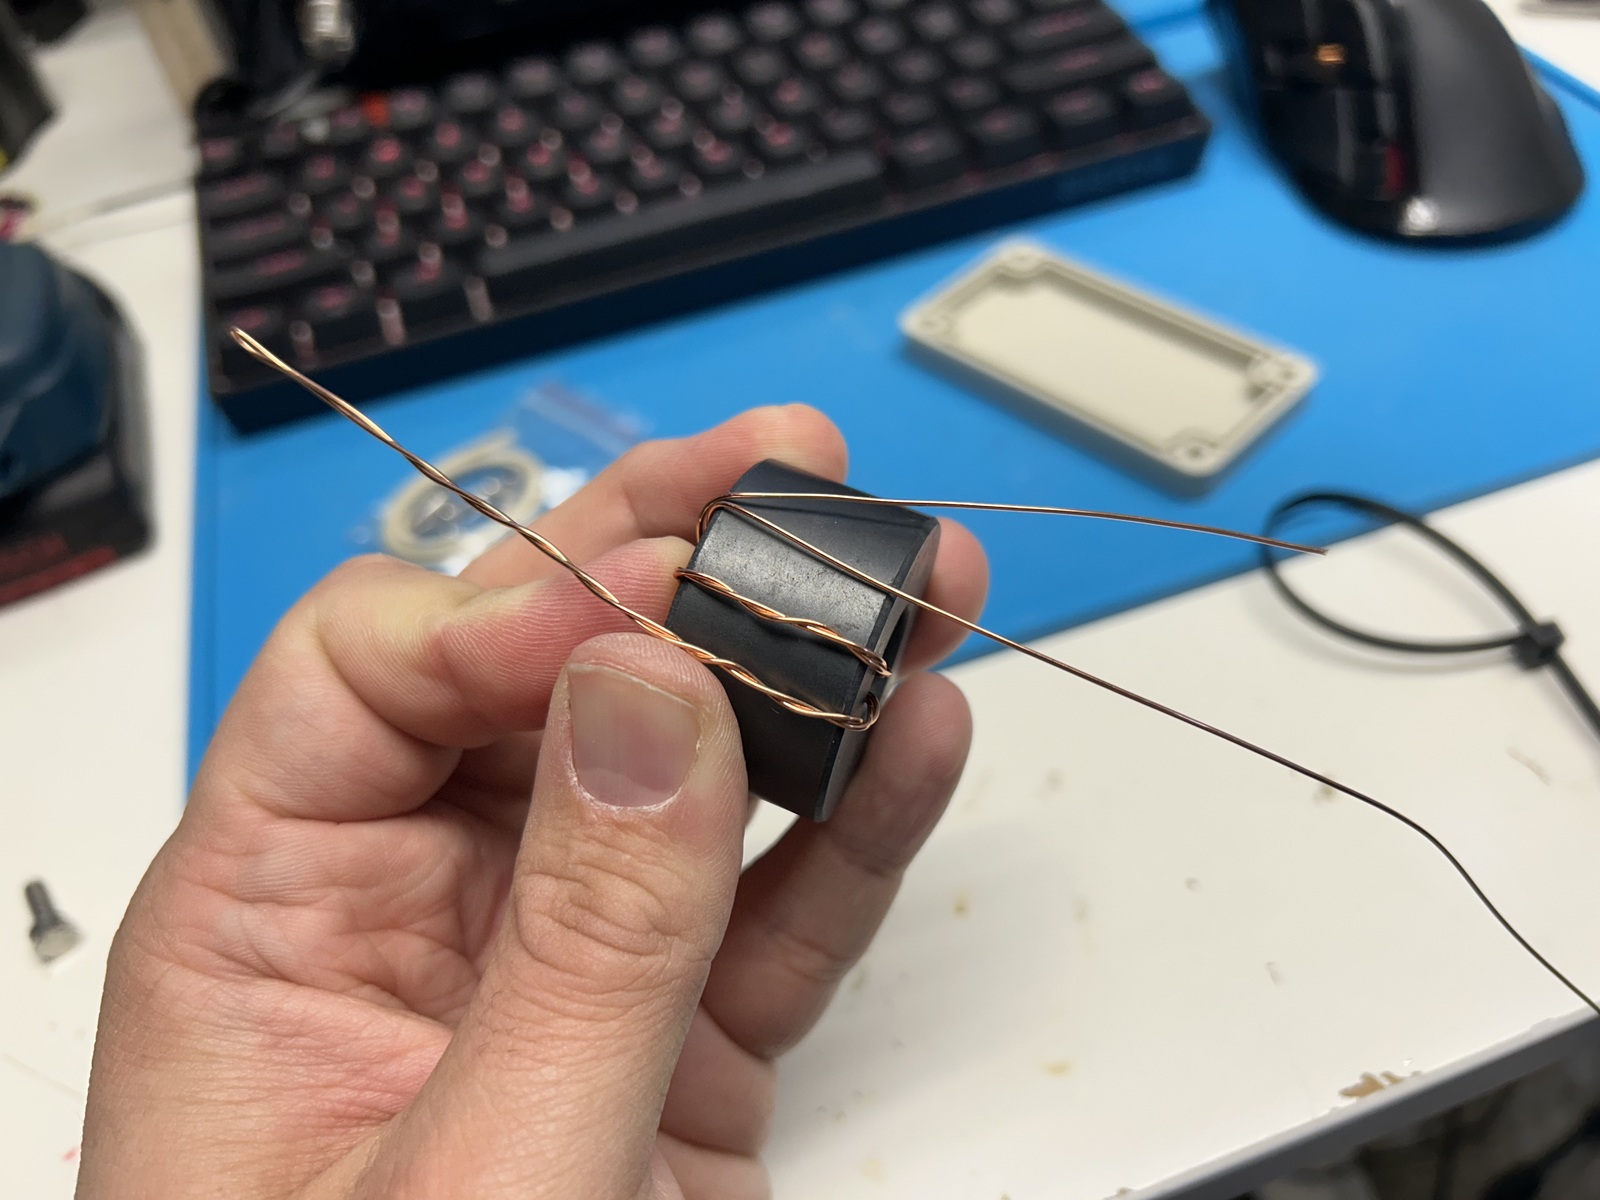
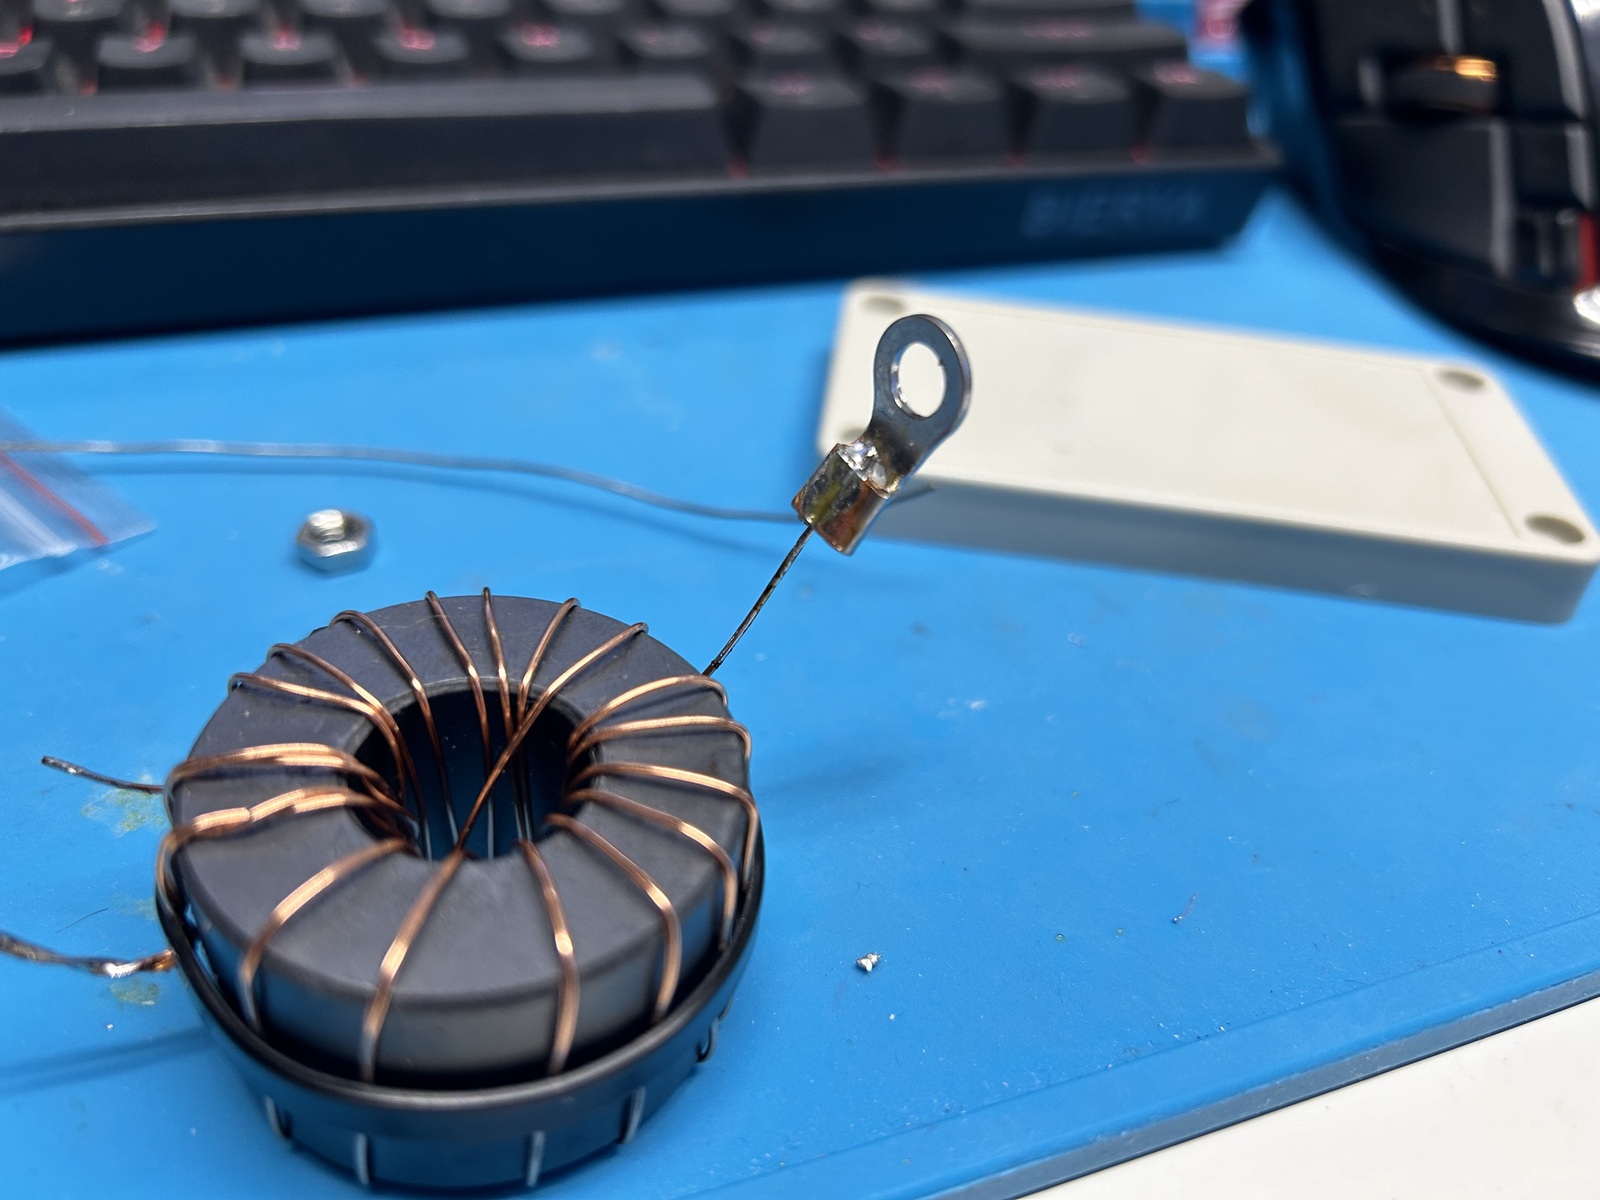
The next step is to begin winding the transformer. There are many resources online containing the details of exactly how they can be wound, and I hope that you find my photographs useful as well. In this instance I'm wrapping the transformer as a 56:1, with two primary turns and 15 secondary turns. I'm using 20 AWG (about 0.7mm) enamel coated magnet wire, about five or six feet. I have found this setup to be perfectly suitable for continuous use of digital modes at 100w, but you may want to use heavier gauge wire. Something I do like to do with these cores is use a zip tie (8" works well) around the circumference to lock the windings into place, otherwise they will have a tendency to slide around while you're building the rest of the enclosure. You will want to have a few inches of wire at each end free, and if you use a crossover winding for the 7th turn your transformer will have a "top" and a "bottom" which is useful for orienting in this kind of enclosure.
Once the core is wound you can place it in the box and begin figuring out how to trim and orient the leads.
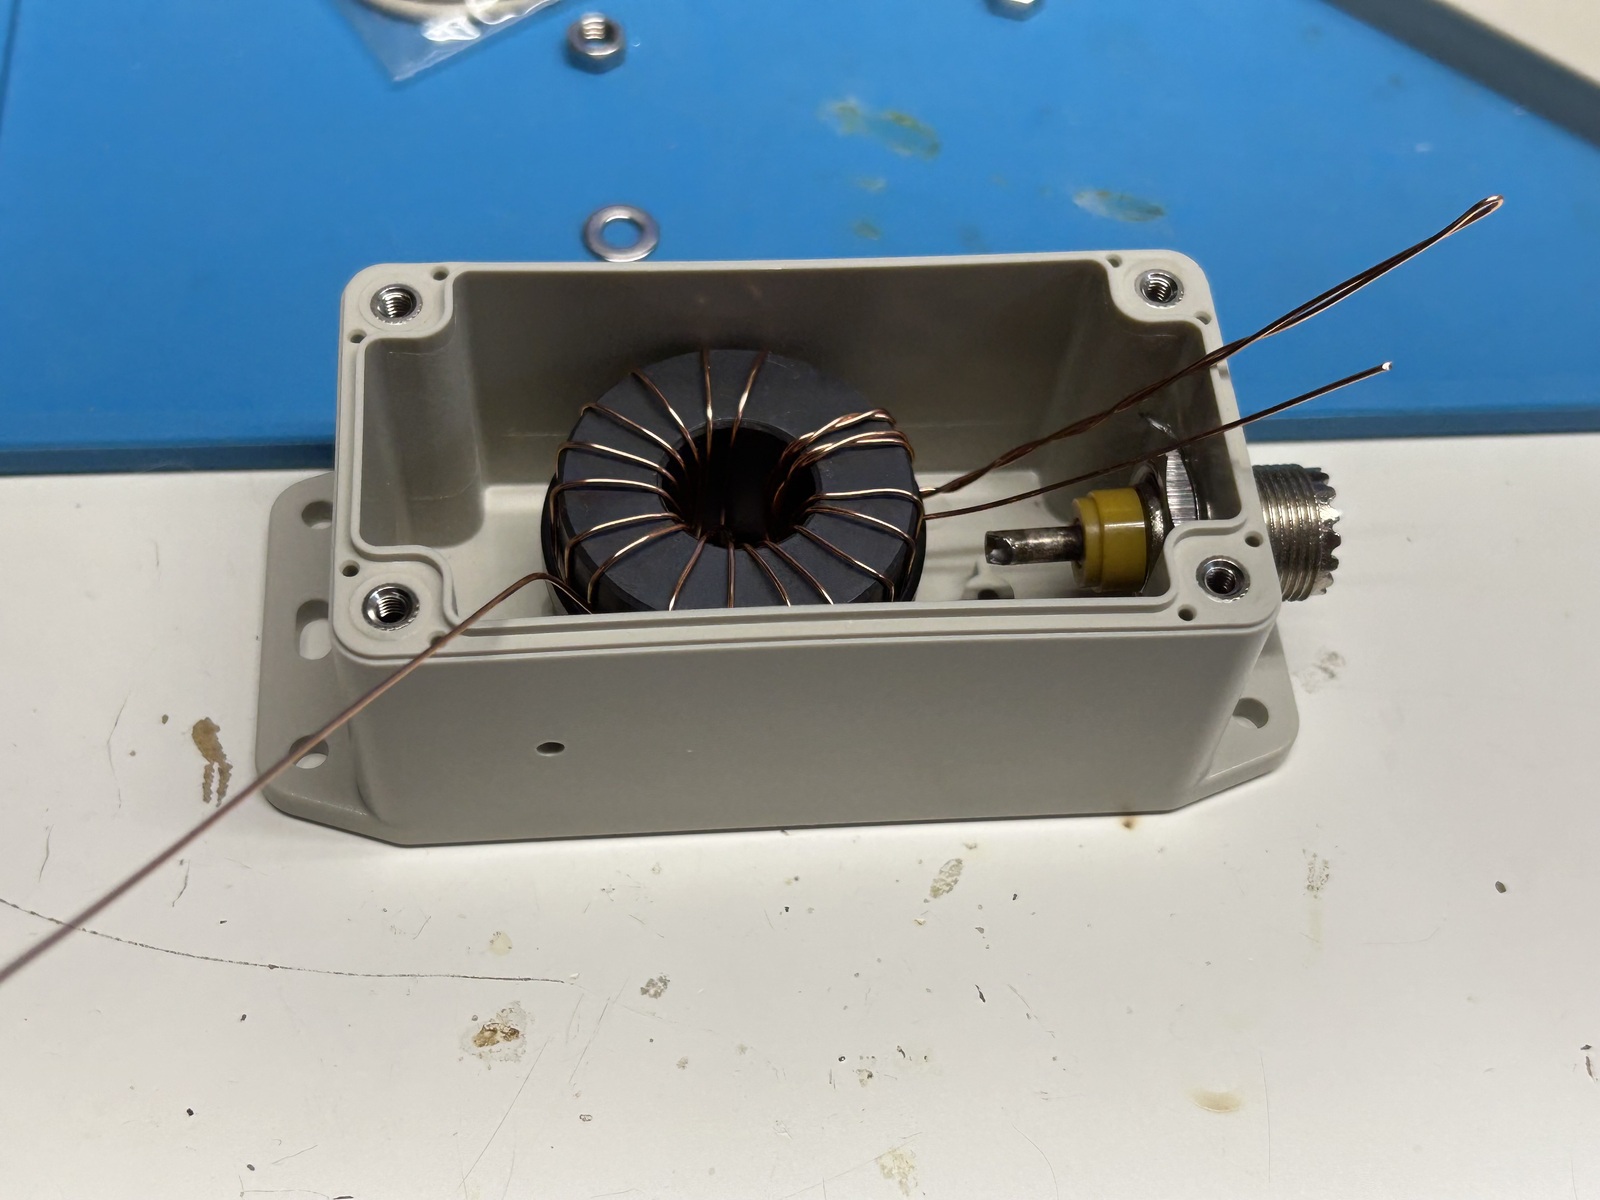
I used a 4mm ring terminal to terminate the antenna end of the transformer. Make sure to remove all of the enamel from the magnet wire before attempting to solder it!
I passed a zip tie through the anchor plate and the center of the toroid, though I didn't tighten it. Once that was in place, I was able to trim and solder the other transformer wires to the SO-239 connector. Note that I have the antenna connection on the side of the box - this is in effort to prevent rain water from getting in.
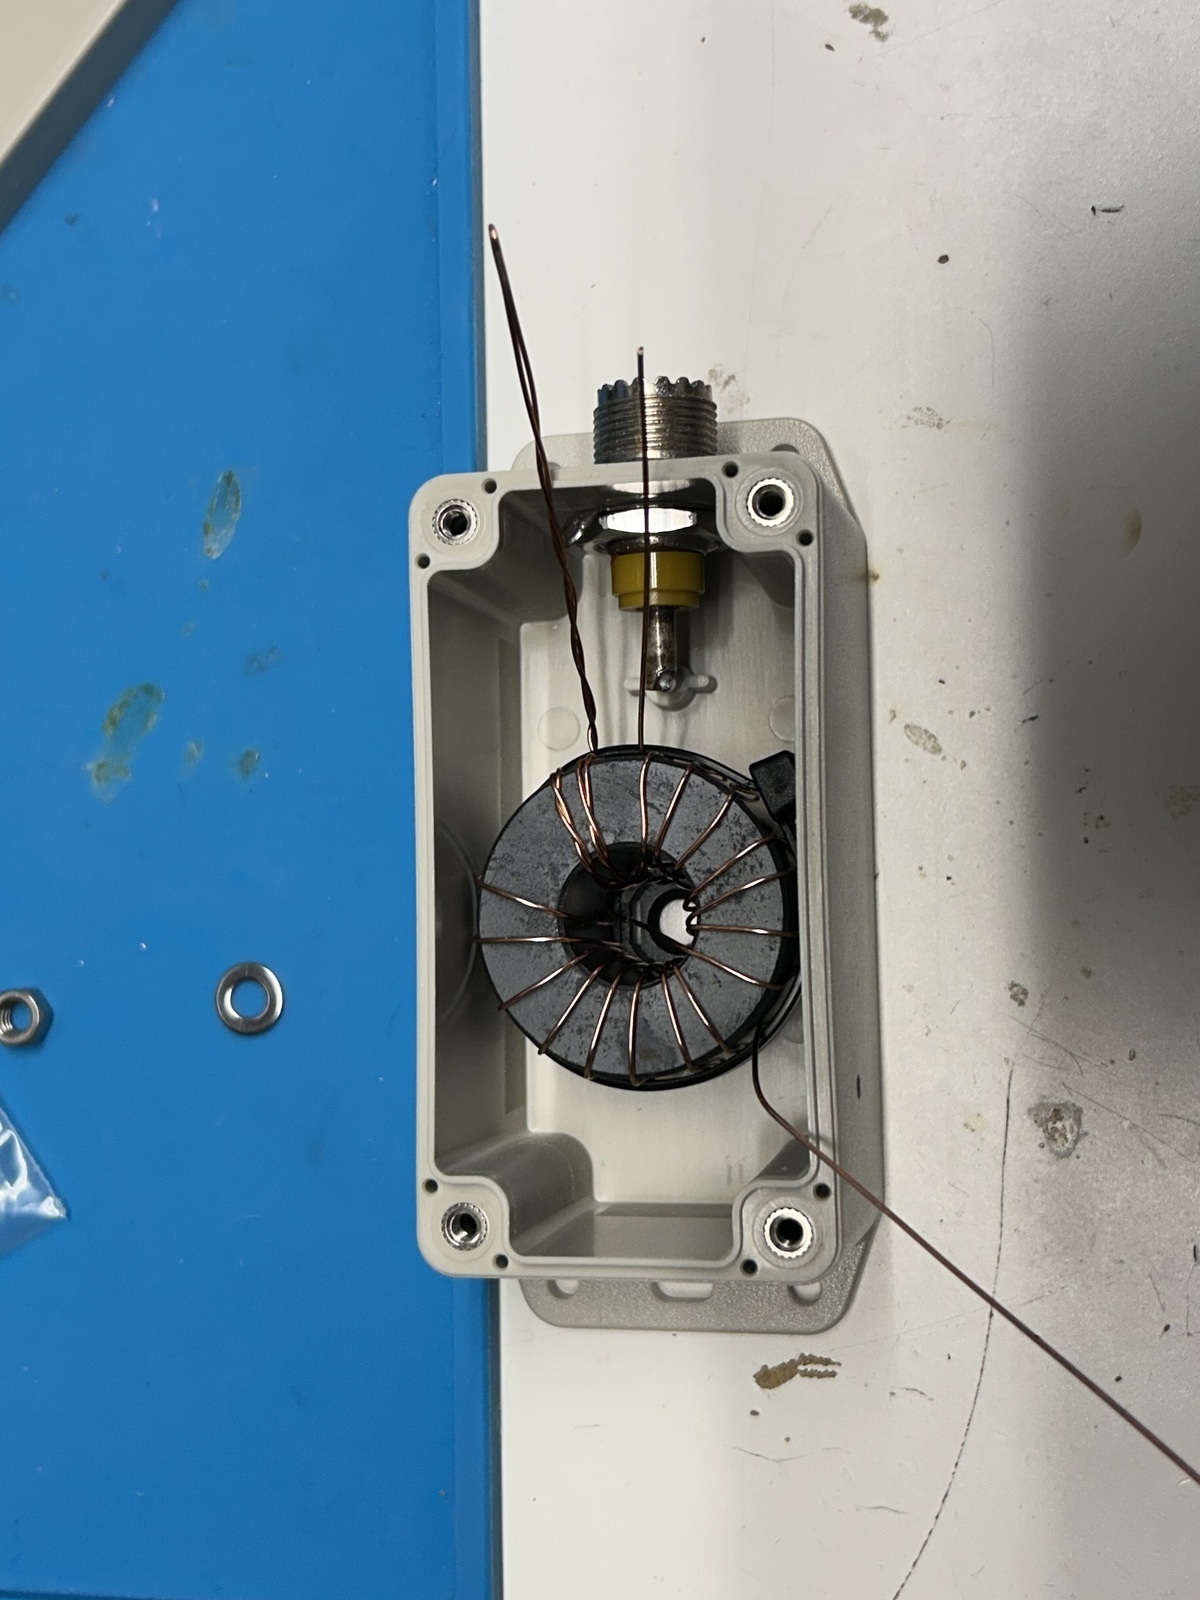
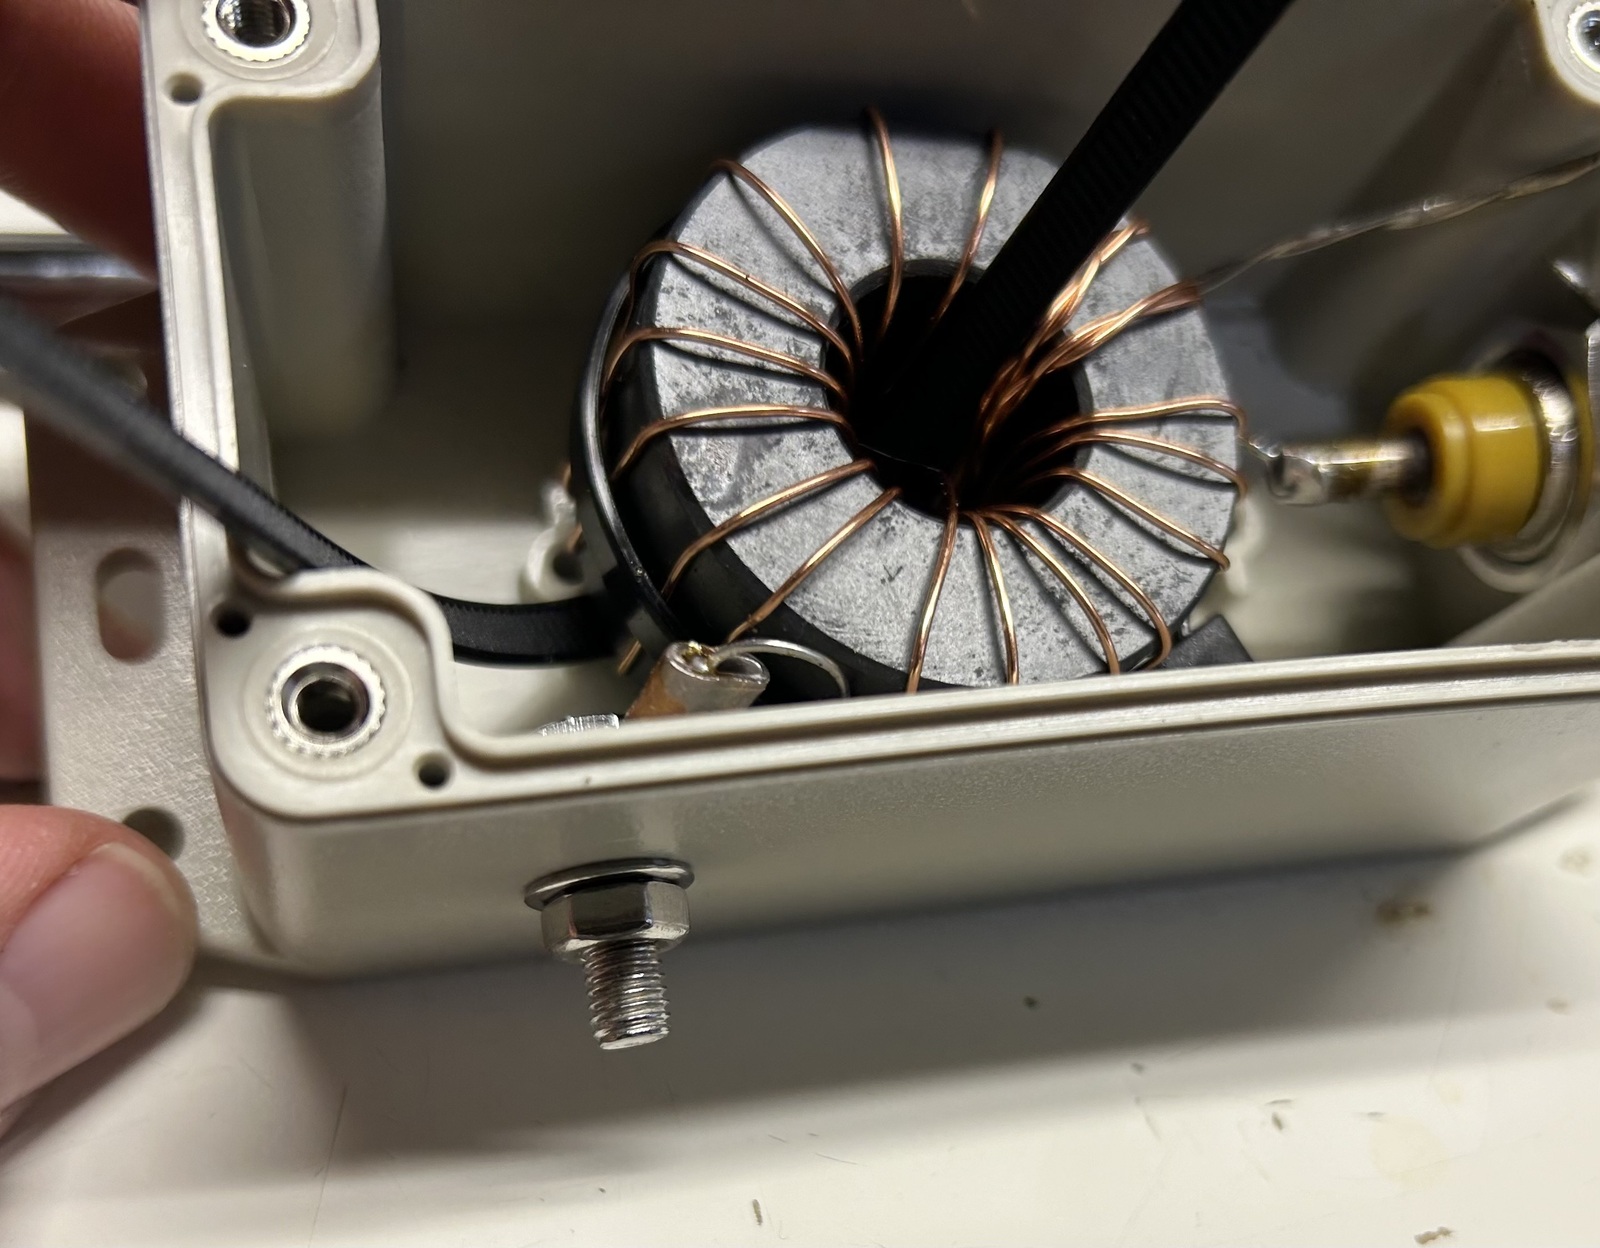
Next I installed the bolt that will be used to electrically connect the antenna to the transformer. The bolt I used was one I had on hand, and it is about 5-10mm too short for my liking - I may swap this out for a longer bolt in the future, but this one works fine. It's just a little short.

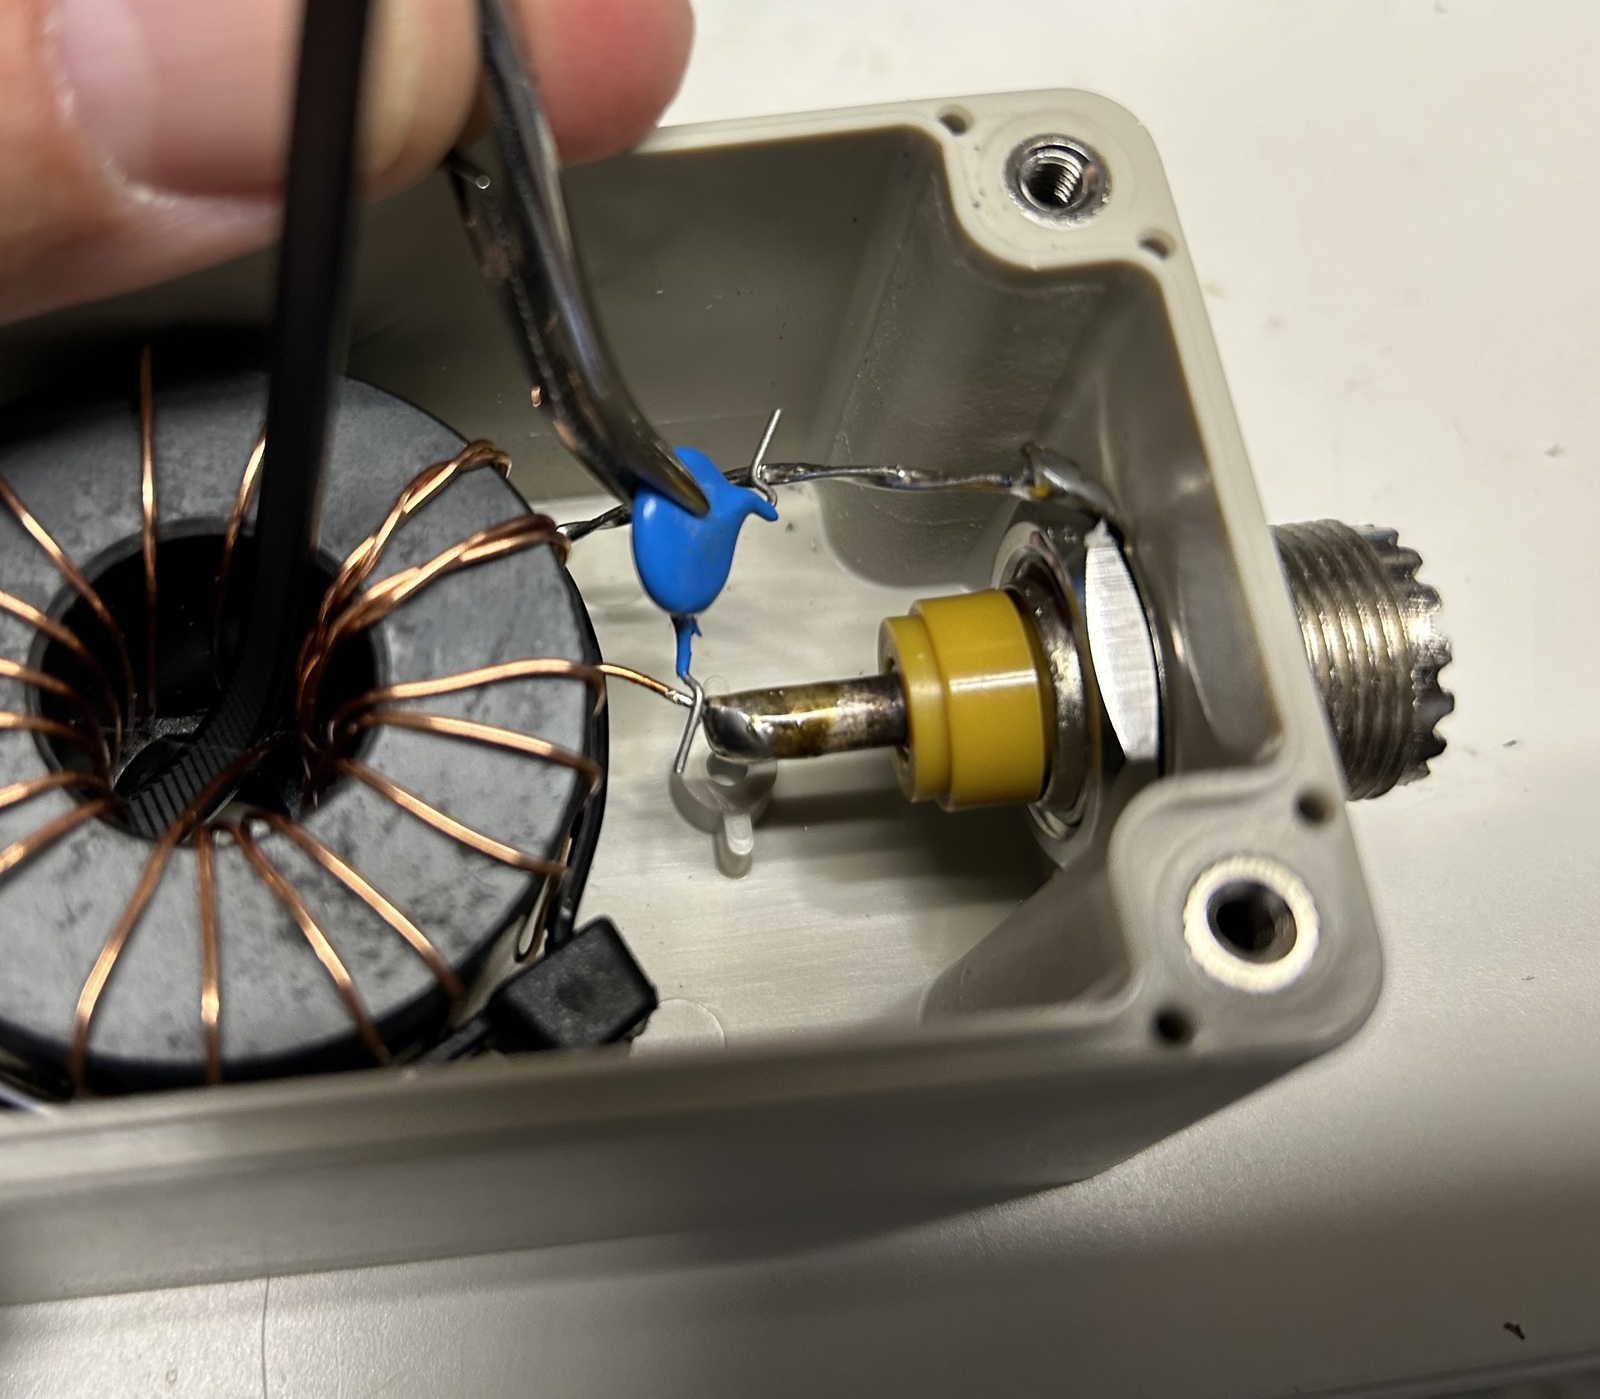
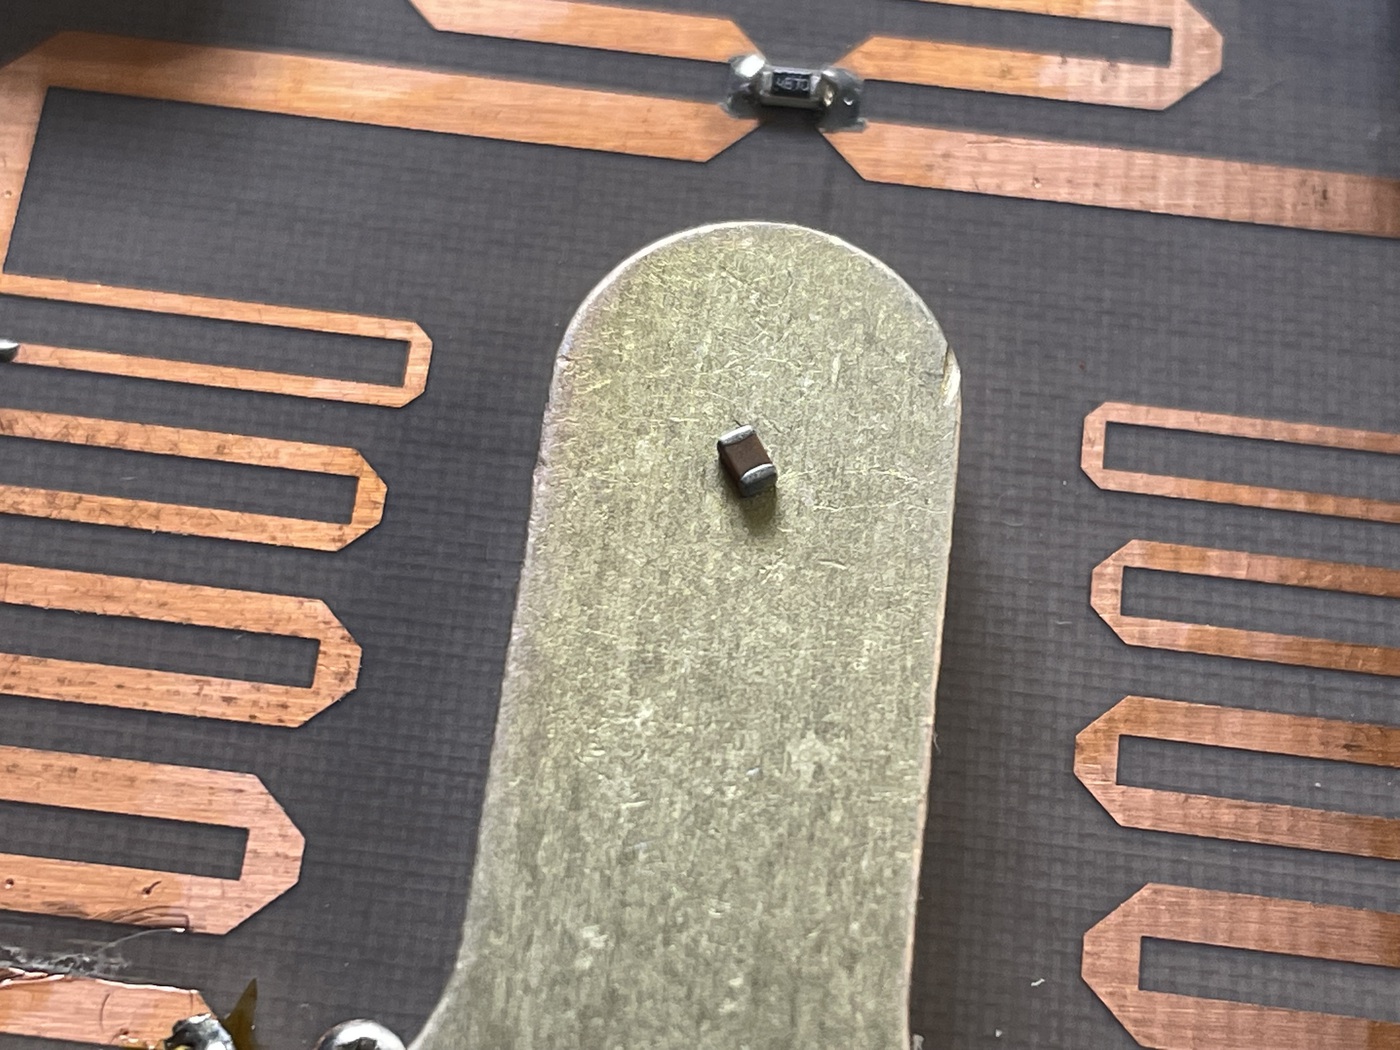
At this point, I completed the soldering to the shield of the coax connector, and added the capacitor. I went with a 120pF 3kV TDK cap, also from DigiKey. I have tested 80, 100, and 120pF caps in this position and haven't noticed a significant change between them. Some folks like to install a variable capacitor here to better tune the antenna, and I would like to try that at some point.
Many folks also add a lug for a counterpoise, which would electrically connect directly to the shield of the coax connector. In my installation I have not found a counterpoise to be necessary, but it's something to keep in mind.
Then it was time to tighten down the zip tie, add the gasket and some information to the underside of the lid, and button it up!

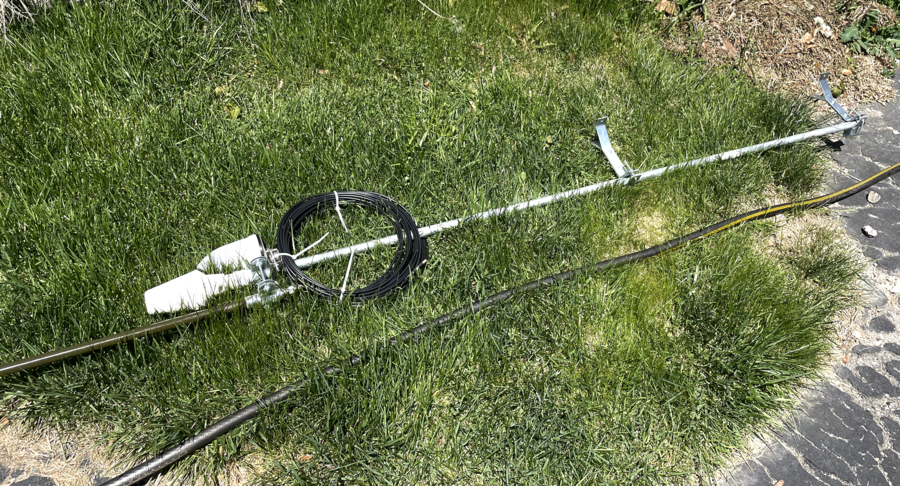
Installation was easy, simply drop the old transformer and haul up the new one.
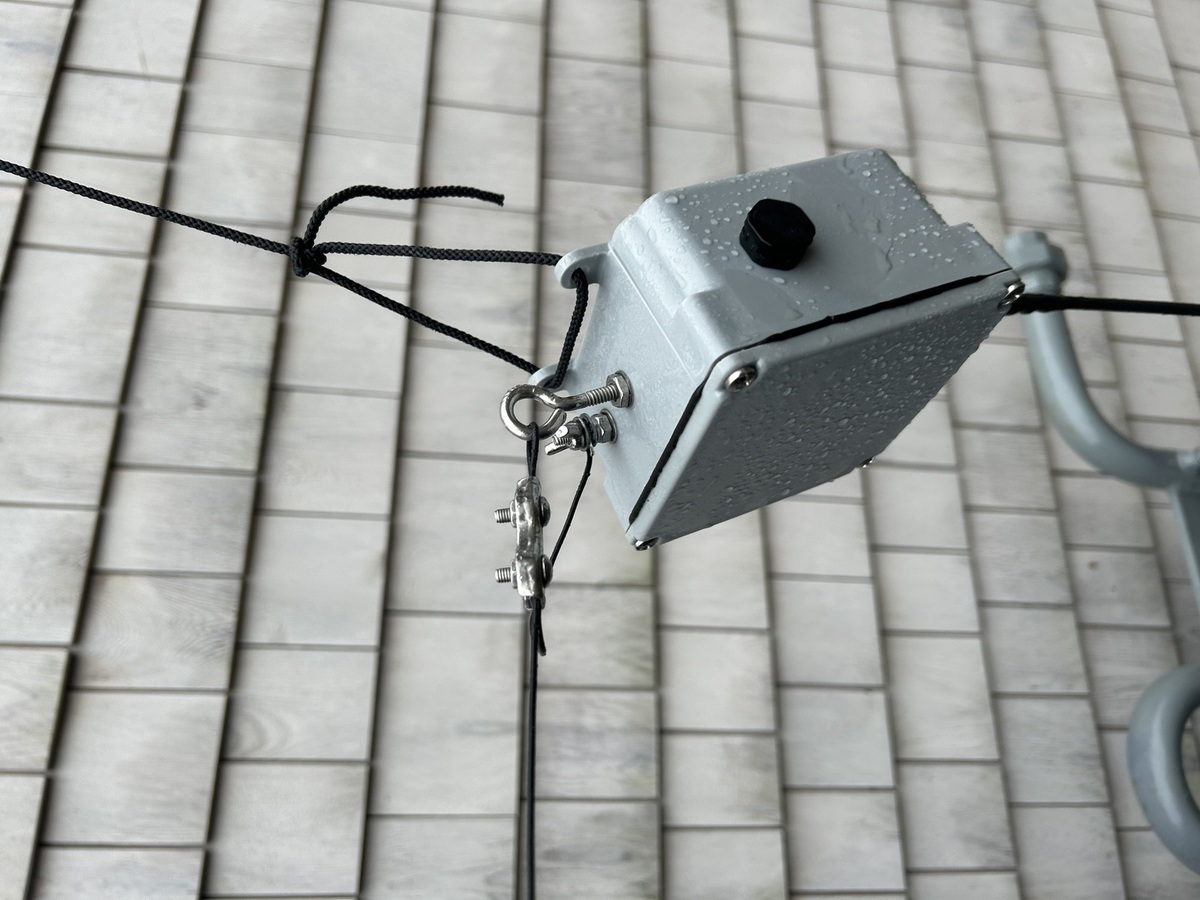
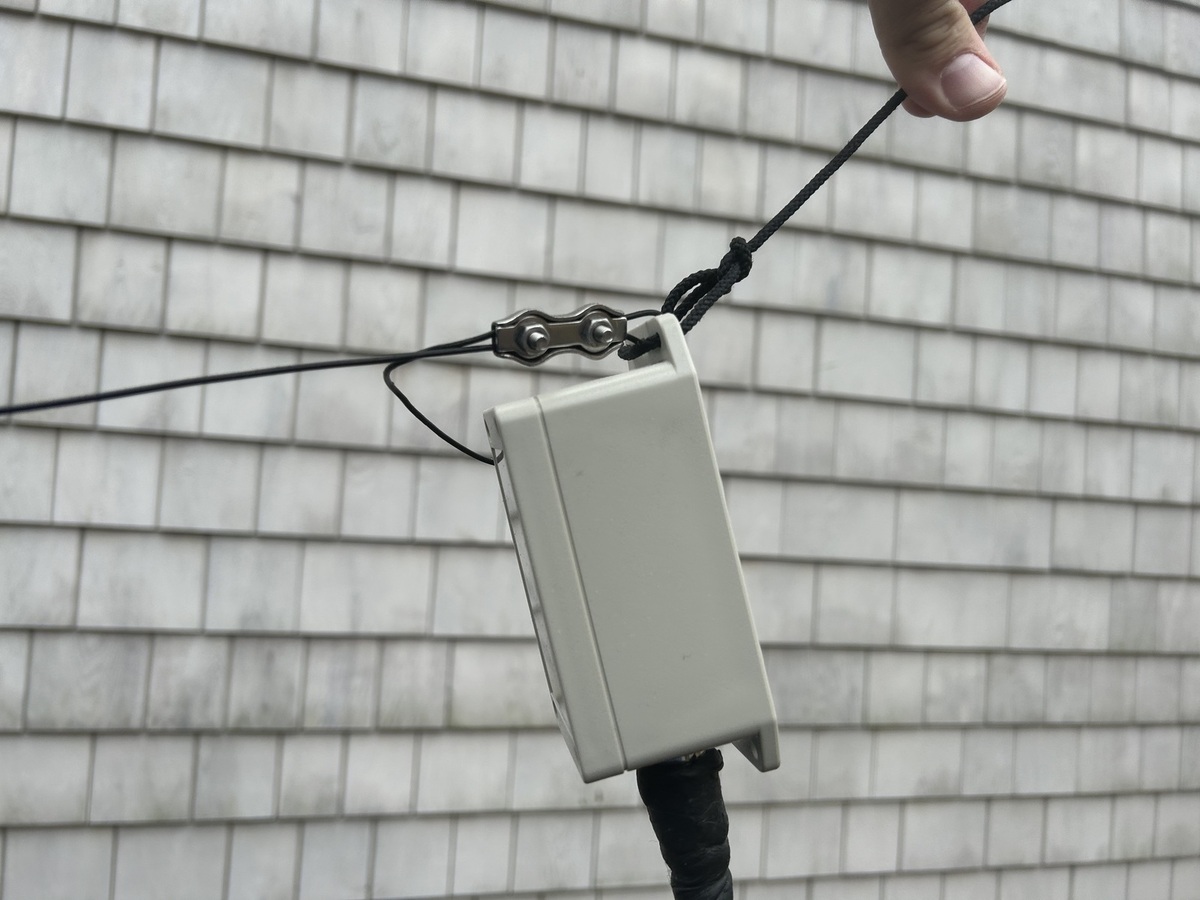
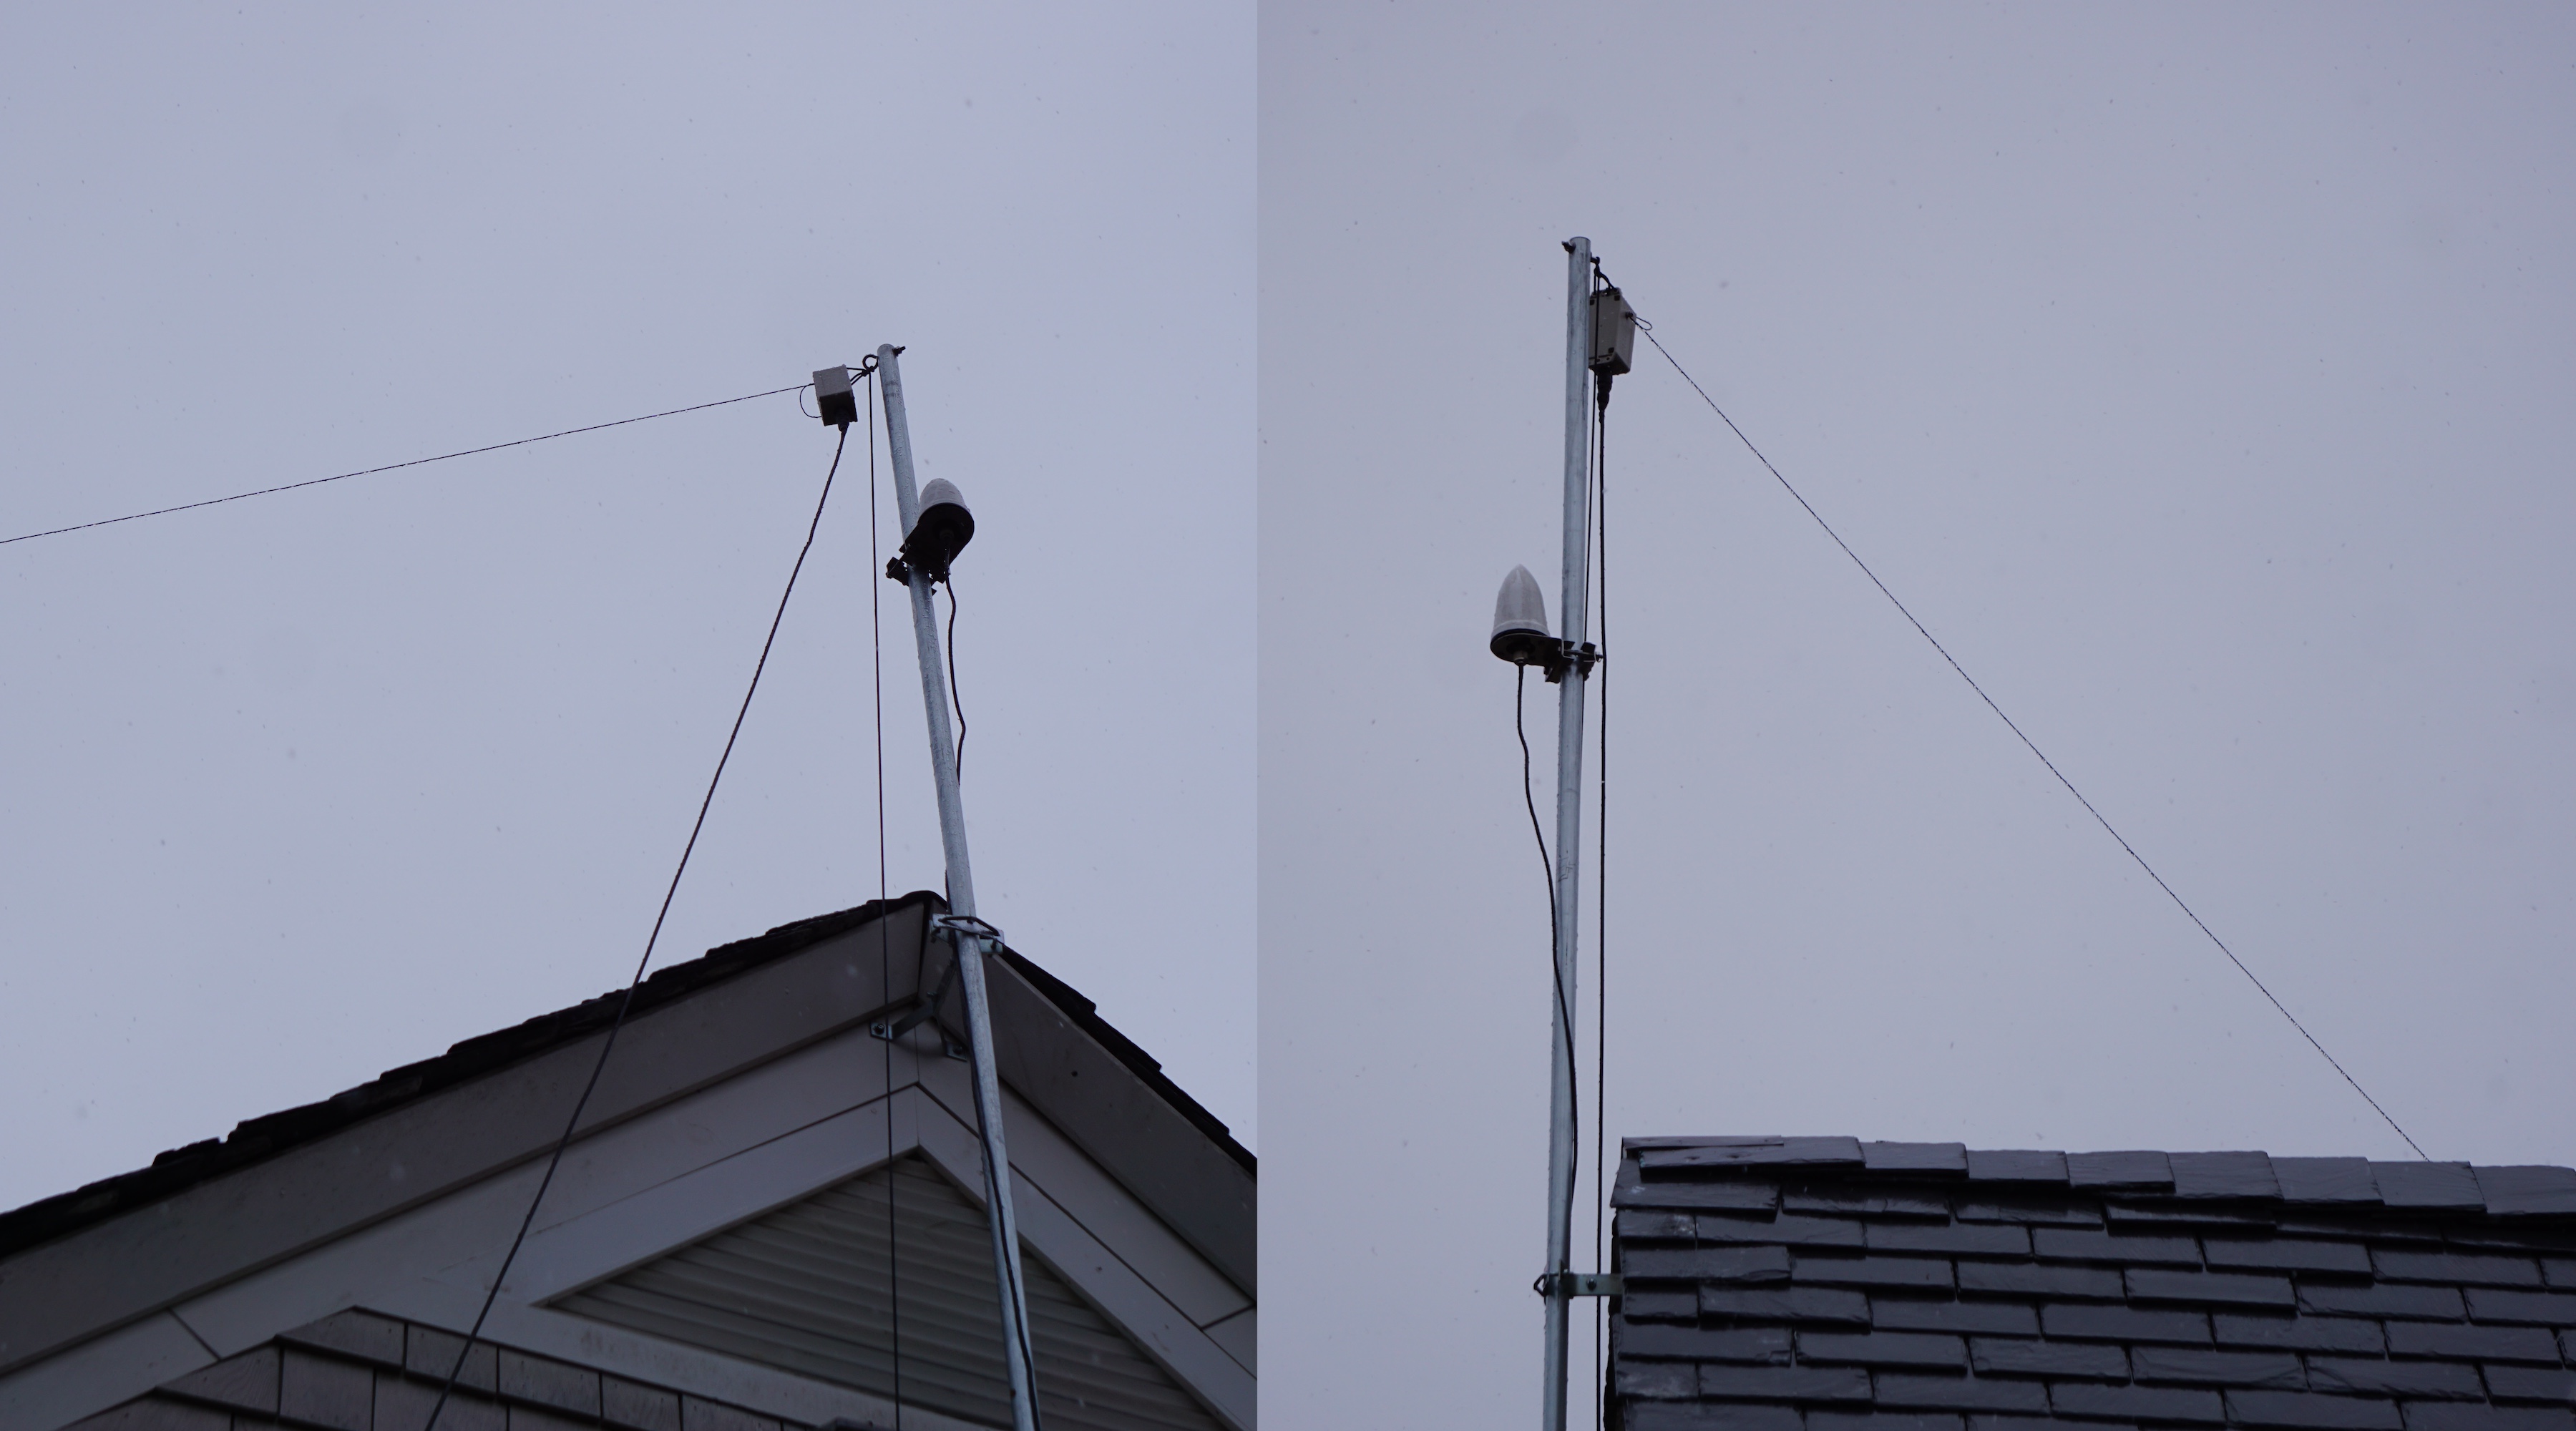
Here you can see how I have the hoist rope as well as the antenna wire looped through the tab at the top. Using a cable clamp on the antenna wire is critical as it removes strain from the antenna wire termination.
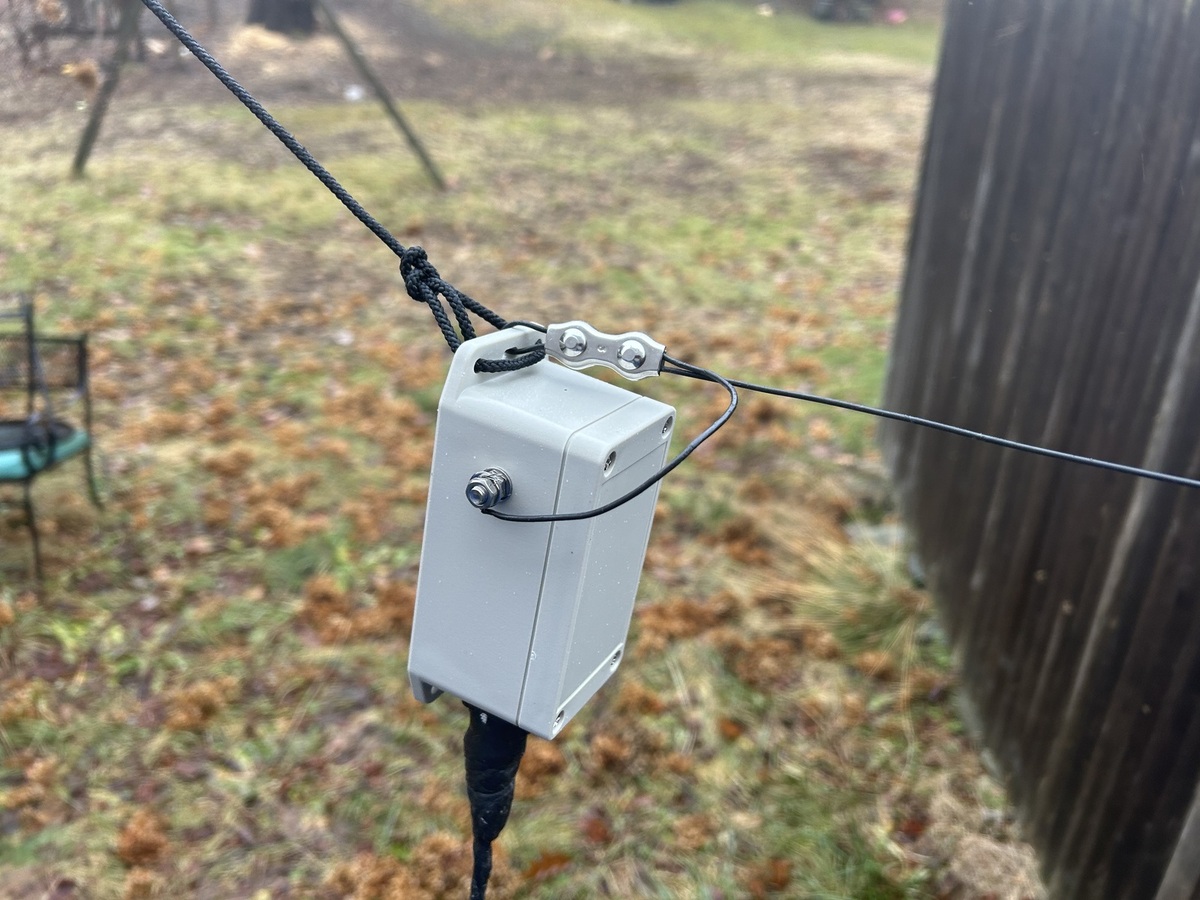
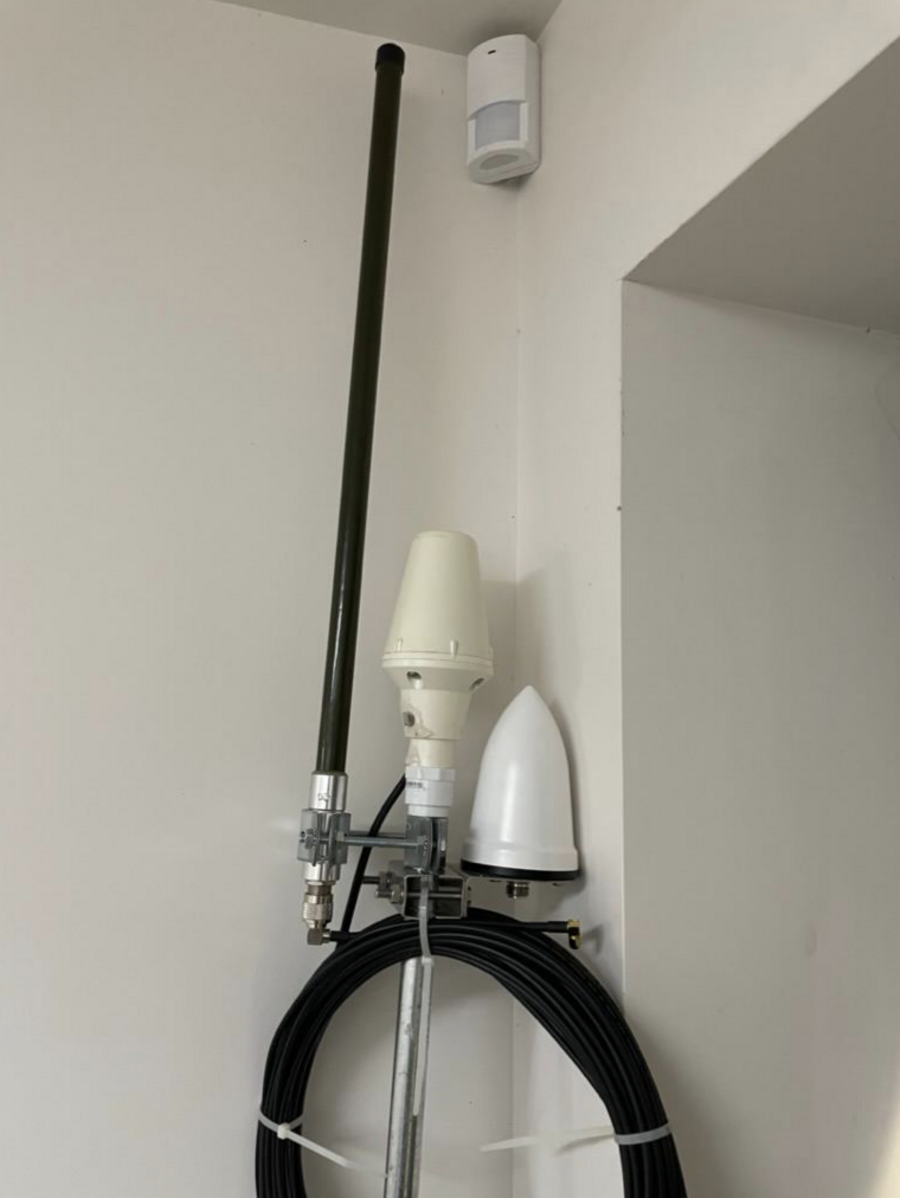
Hoisted up - seen from the front and the side. Optimally my feed line would be dropping straight down, but it's a few feet too short. It will be replaced with a run of N-terminated RG213 or similar sometime soon. I keep at least 100ft of rope, 1/8" Dacron, on either end of my antenna so that I can completely drop each end of the antenna to the ground at the same time, which makes maintenance and adjustments much easier.
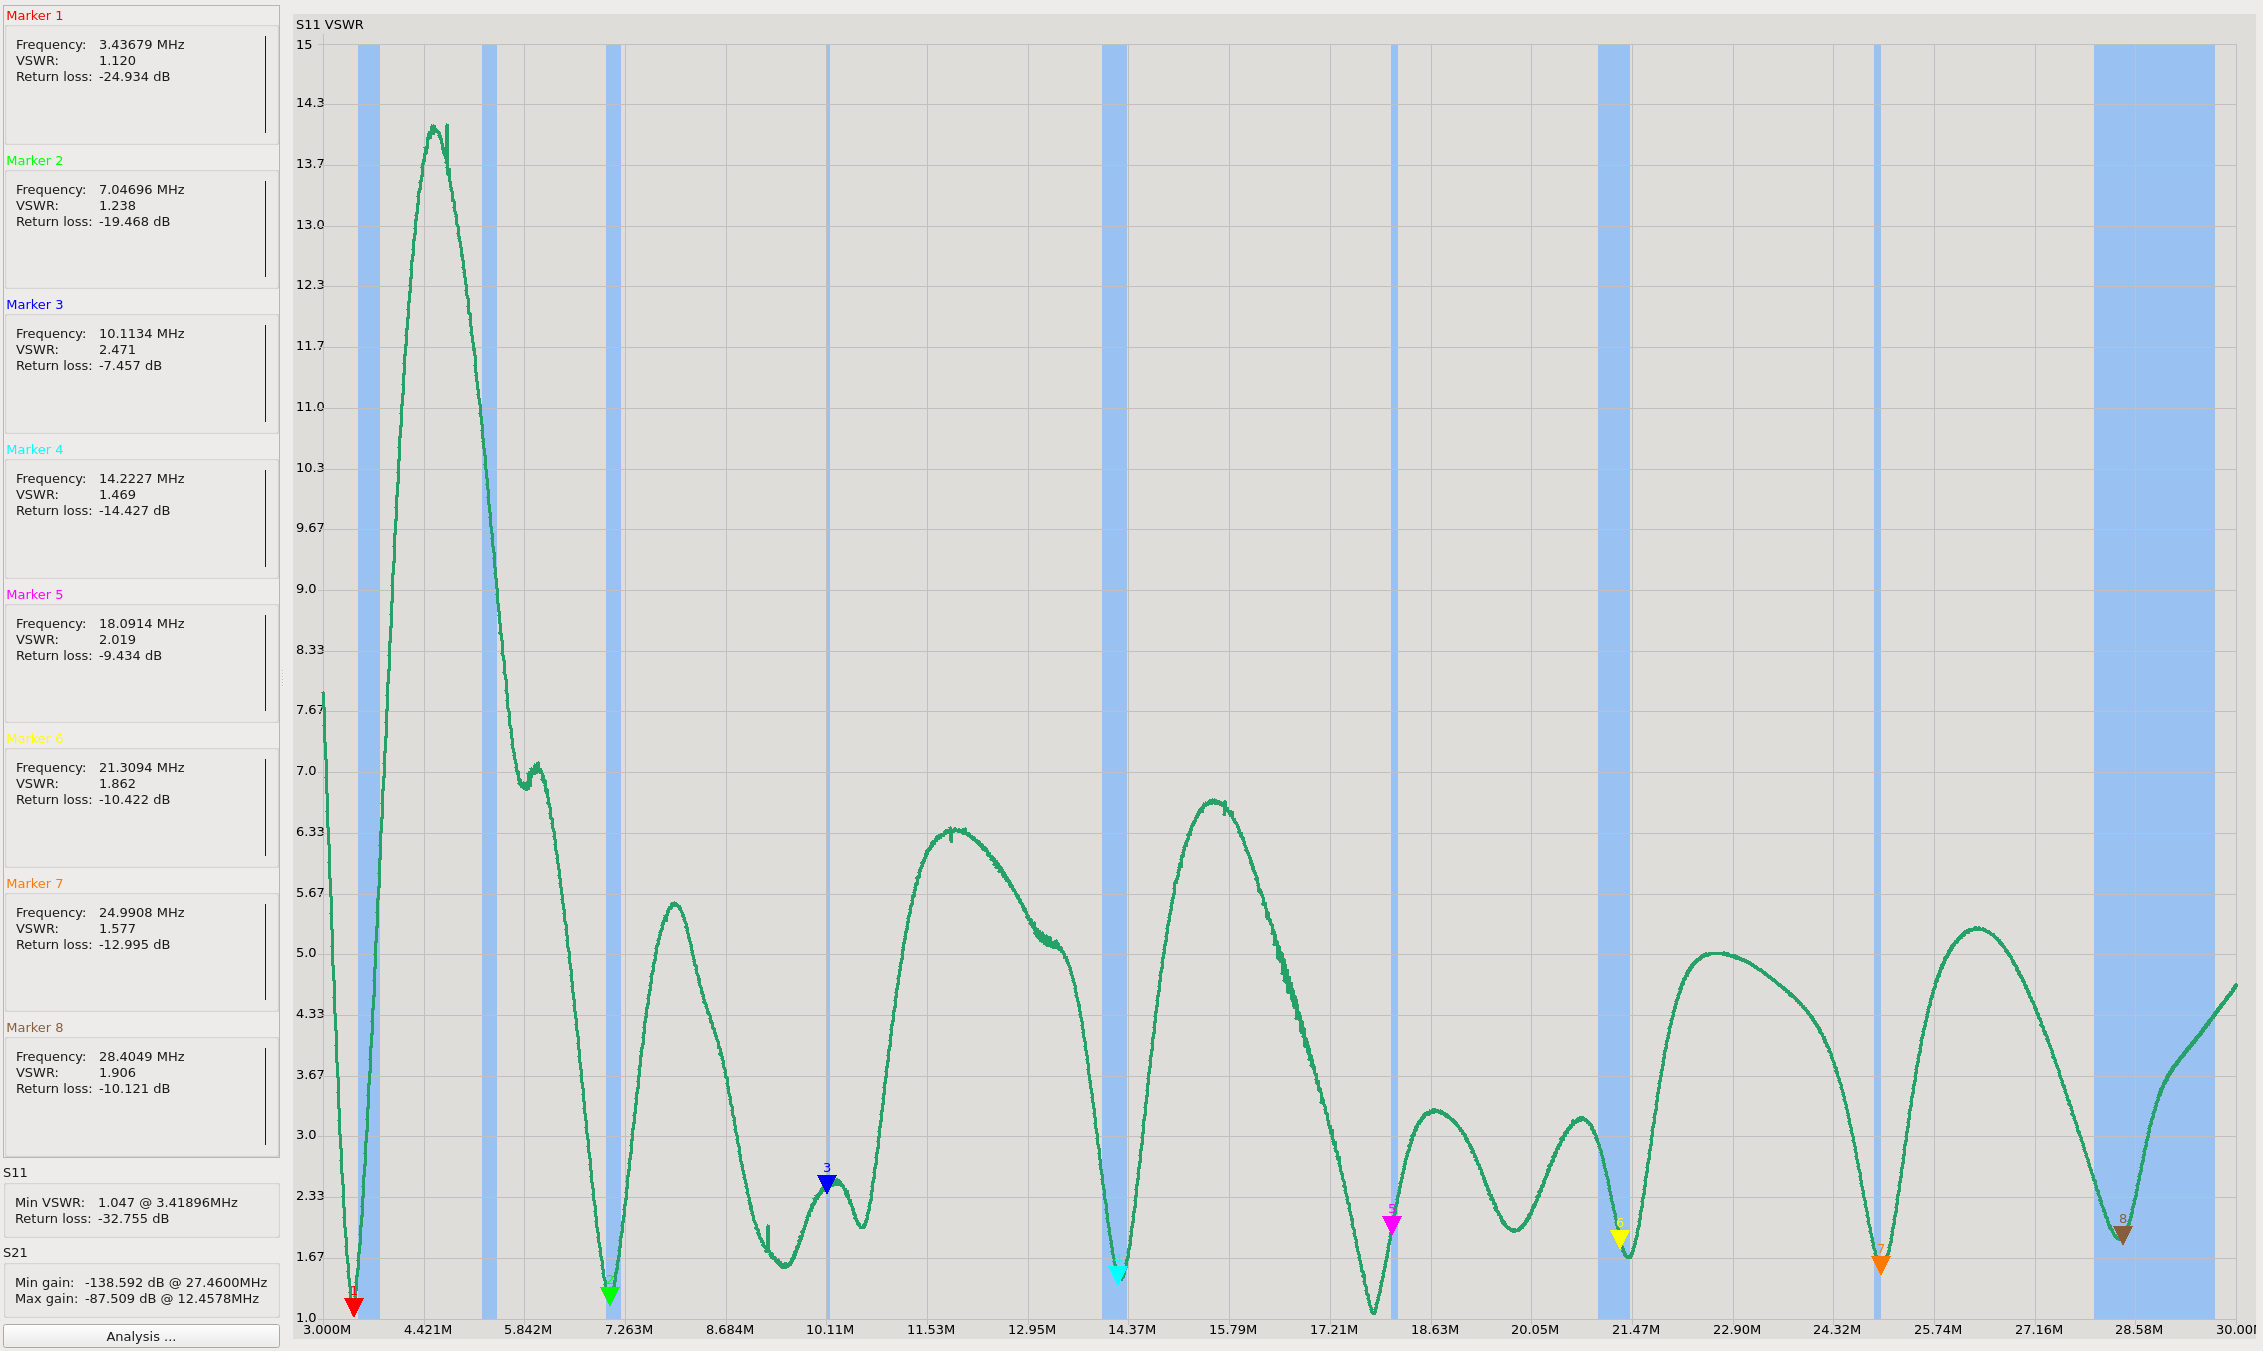
Here's the SWR plot from the NanoVNA. In my installation, with a 132ft wire, this antenna has a low enough SWR most of HF bands that it can be used without a tuner, and on the others (except for 60M) the "clean up" tuners present in many modern HF rigs can bring them to 1:1 with very little effort. Of course, low SWR is only part of the equation. Your environment and the characteristics of your installation play a major role in determining the antenna's effectiveness.
If you build one of these antennas and it works well for you, I would love to hear about it. If it doesn't work well for you, feel free to reach out and I can help you troubleshoot. Experimenting with antennas is one of my favorite parts of amateur radio, it is amazing to see what can be achieved with just a bit of wire and a toroid.
A final note - one potential downside to end fed antennas is that they tend to have a large amount of common mode current on the coax. Using them with a 1:1 choke is highly recommended. The chart on the following website is very helpful in determining an appropriate choke for the bands you intend to operate on as well as the materials you have. I use 12 turns of RG58 through an FT240-43, and am experimenting with other methods as well.


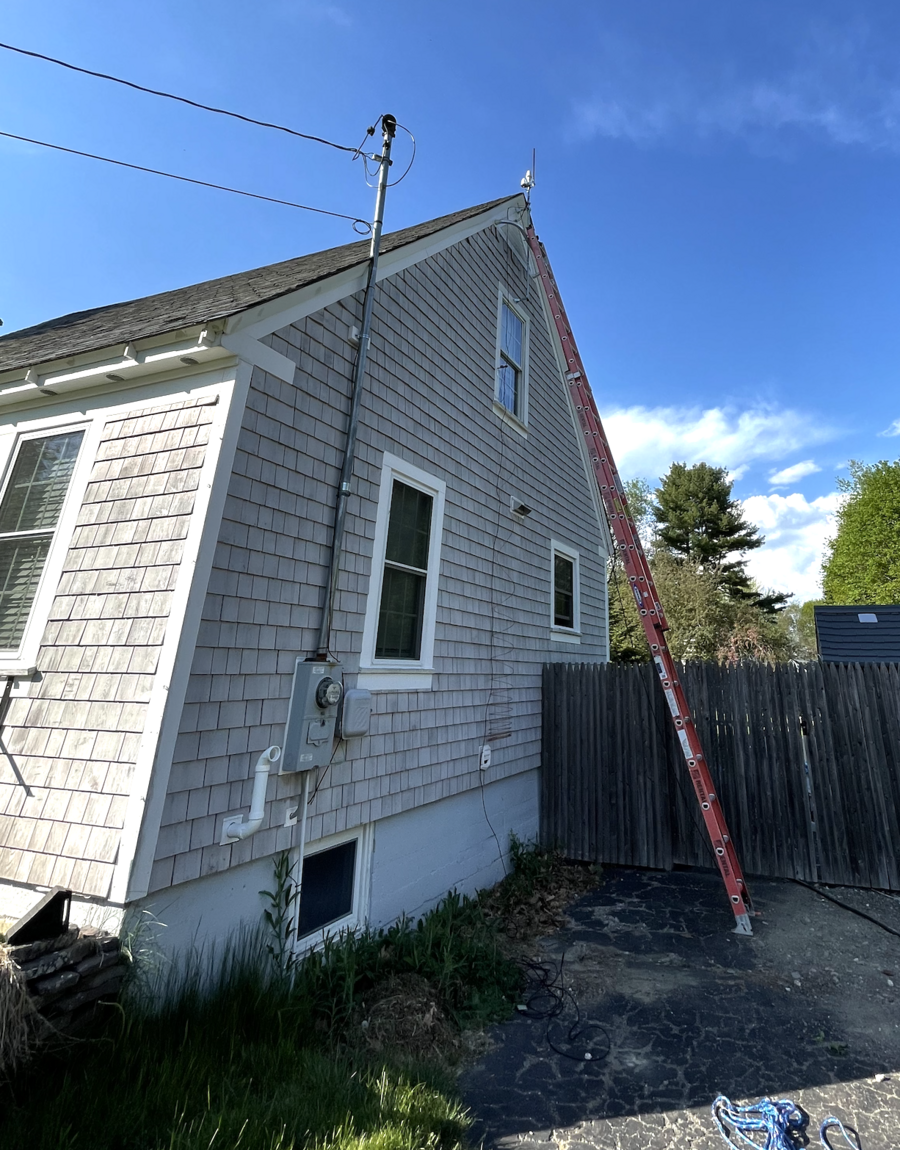
 (Yes, I know a few siding shingles are missing up there, it's not a big deal.)